Voting Opens For Dark Matter
Voting is open for Cooler Masters Case Mod World Series. You can vote for DARK MATTER HERE
Here’s Some Highlites From The Dark Matter Scratch Build:


Share this:


Dark Matter Scratch PC Build

Currently I am working on building a computer from scratch. It is also in the running for the 2016 Cooler Master Case Mod World Series. I am going to post some of the highlights along the way.
This build features a ton of different 3D printed parts using my Printrbot Plus V2.2 with a new UBIS 13s hotend. I also used an semi-experimental 1mm nozzle for most of the prints for this build.

This is a couple highlights from the building process
Here’s the official build log:
Share this:

Envious Mod’s Highlights (3D Printing Hits Case Modding)
Here’s some highlights on our favorite builds:
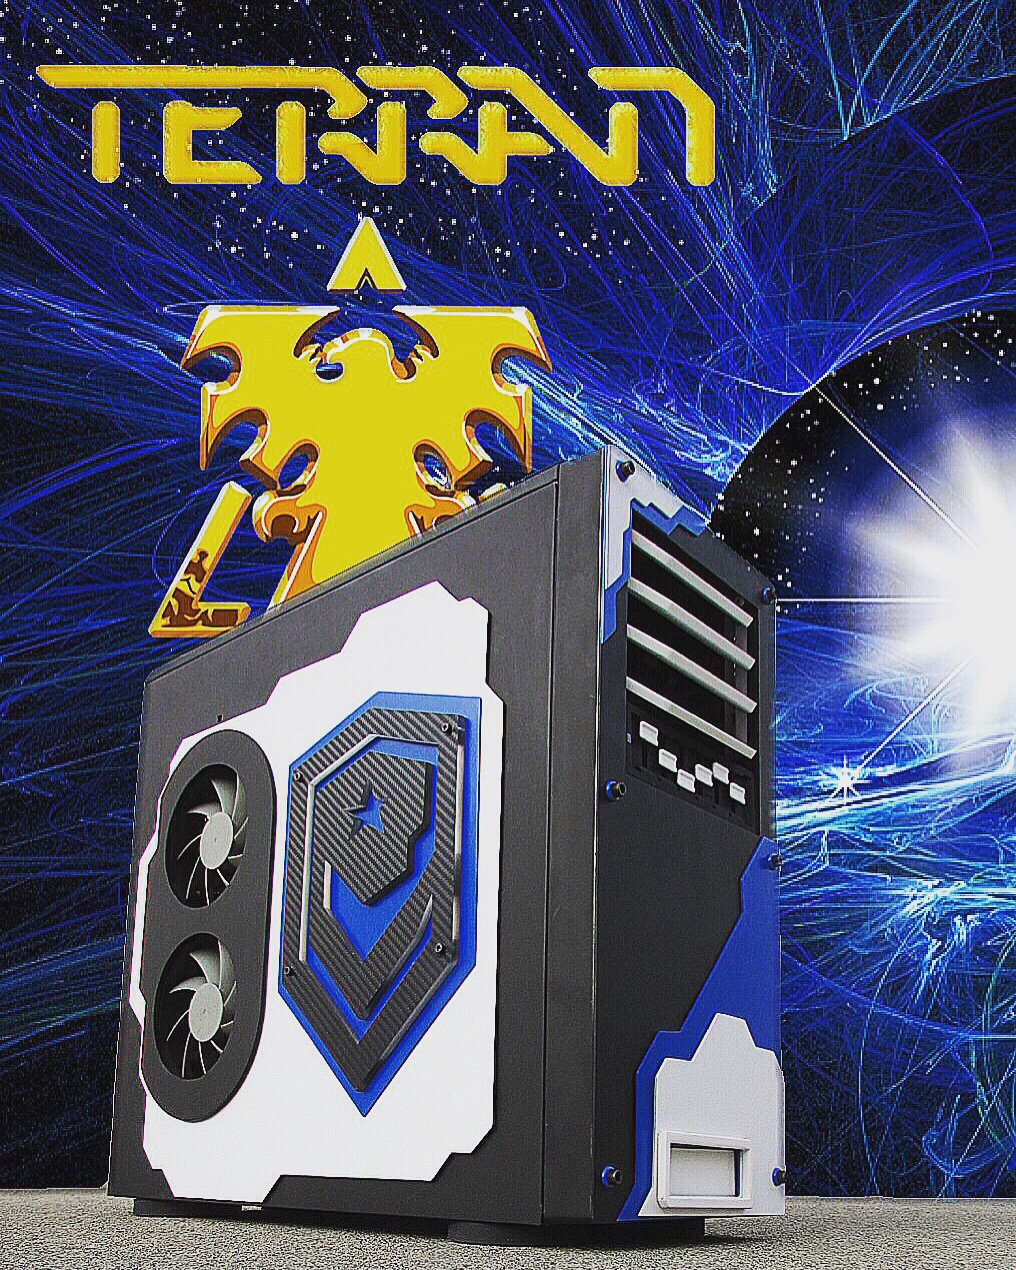
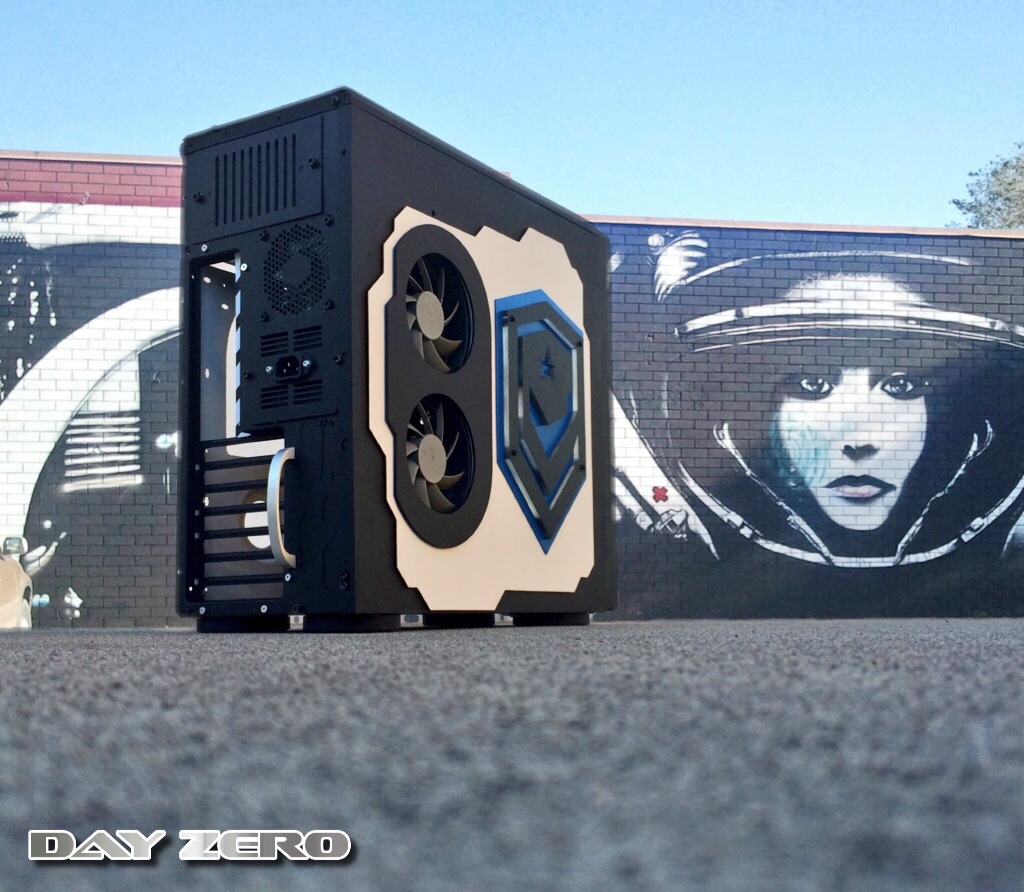
StarCraft (Day Zero) Case Build:

Custom LEDs light up the fabricated HD and SSD rack A ton of custom featutes were fabricated to give the case this look
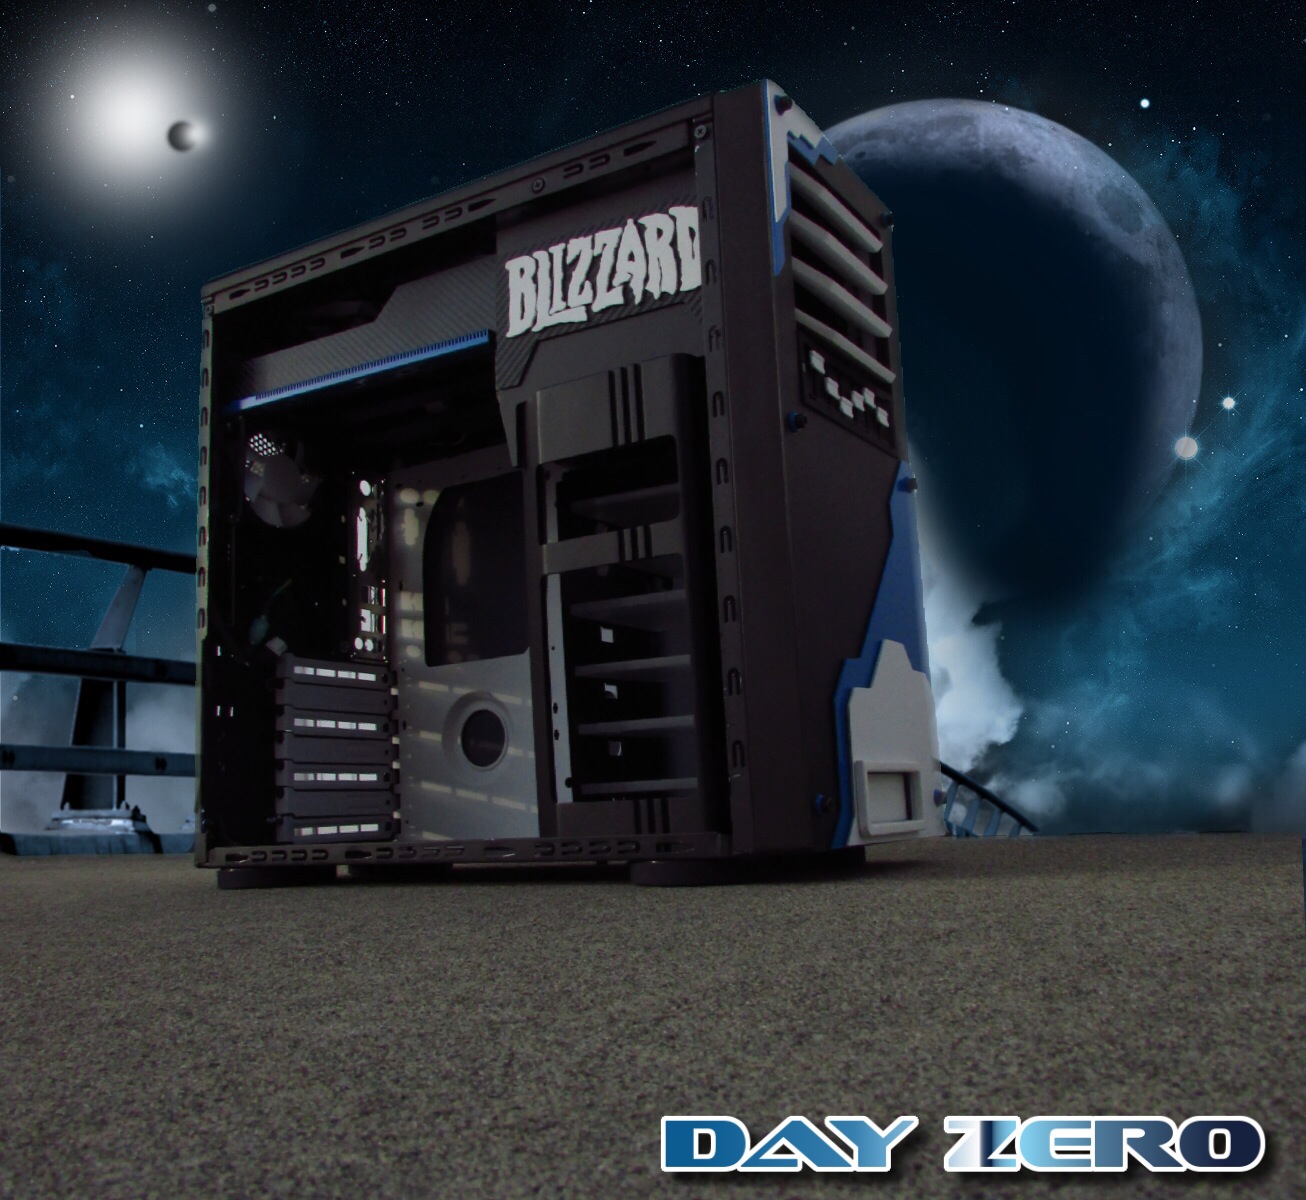
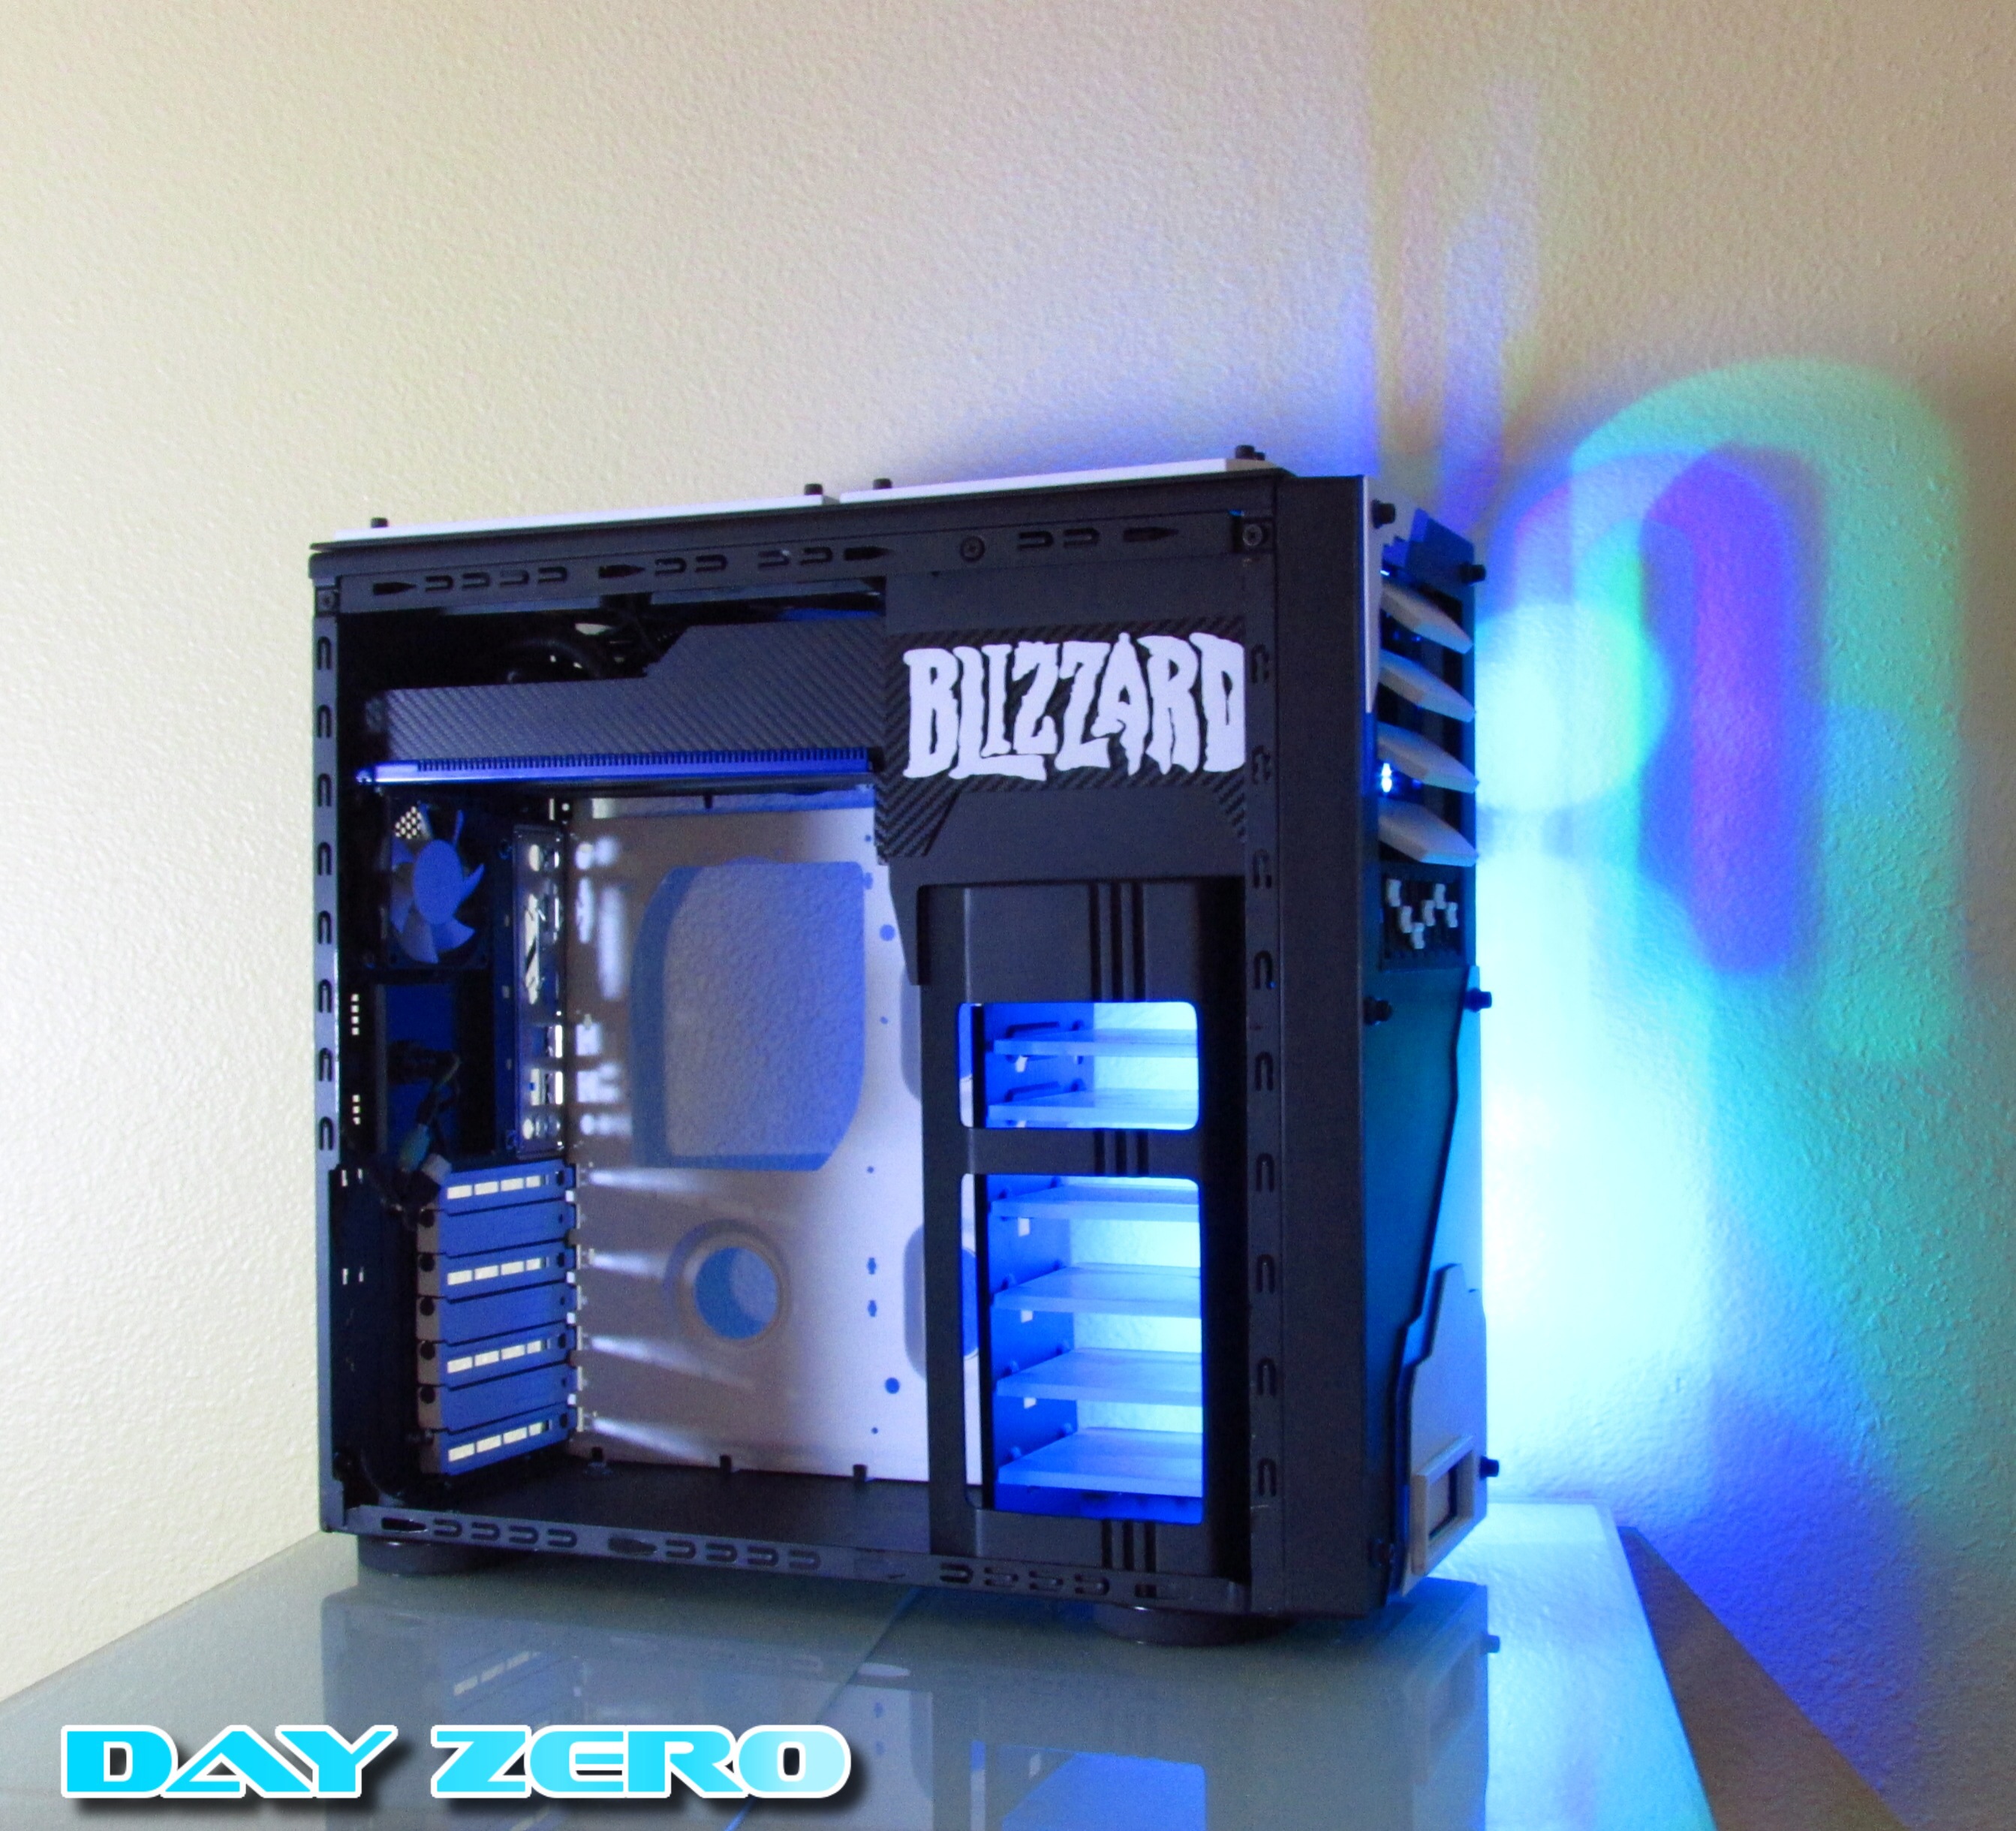
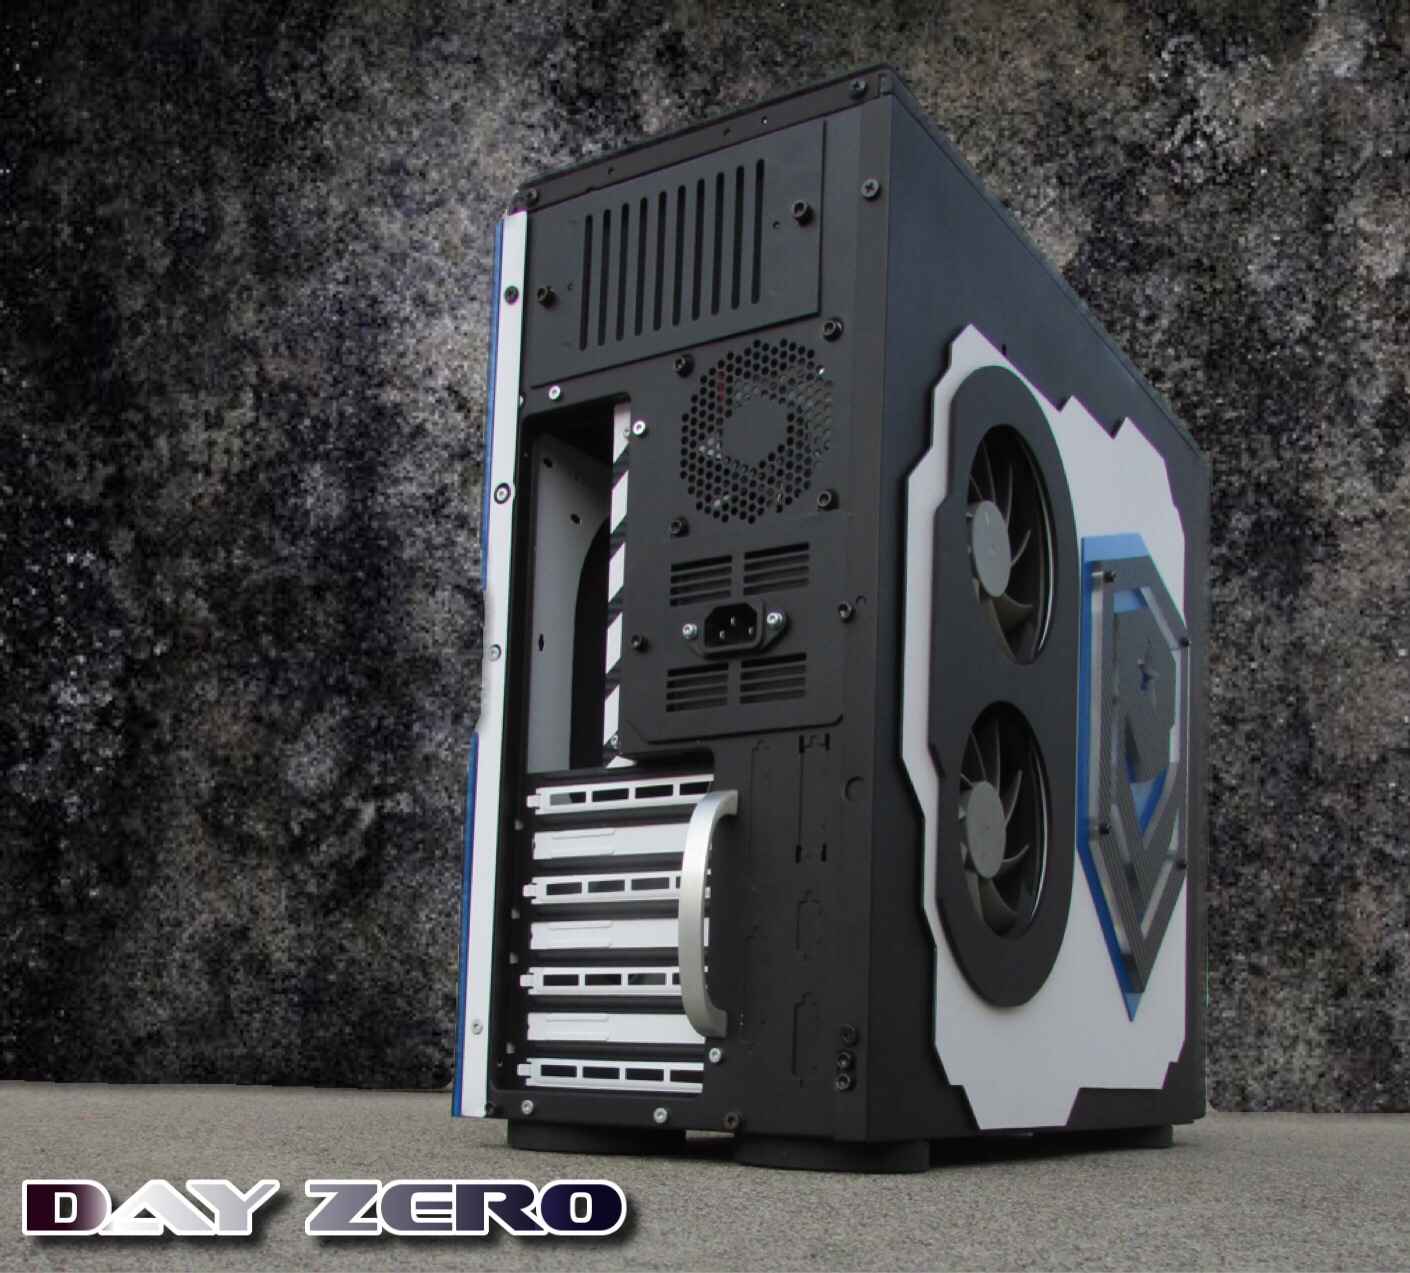
One of the final pics of the StarCraft Day Zero case we built You can see that a lot of customization was done to the rear side of the case. We also added a top removable panel that lets you easily access all the power supplies wiring. Two side mounted 120mm Corsair fans were added to help keep the GPUs cool.

We added adjustable front louvers to exhaust air from the relocated PSU.
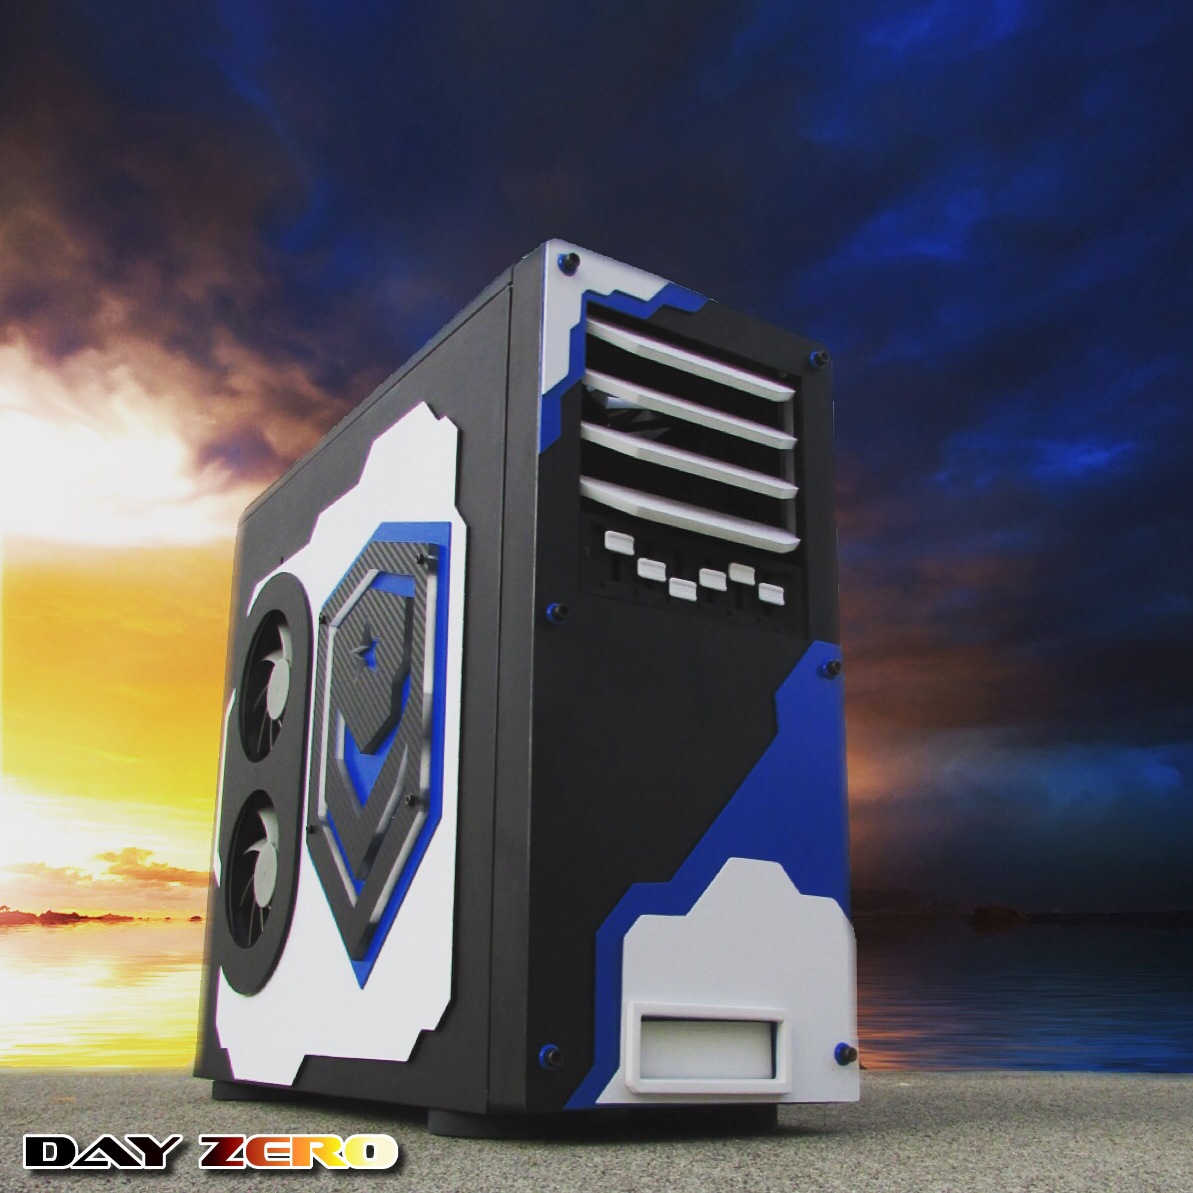
The top 3 X 120mm XSPC fans help exhaust hot air out the top of the case. With the extensive air-cooling setup we decided to add fan controller so they can be adjusted manually or through software.
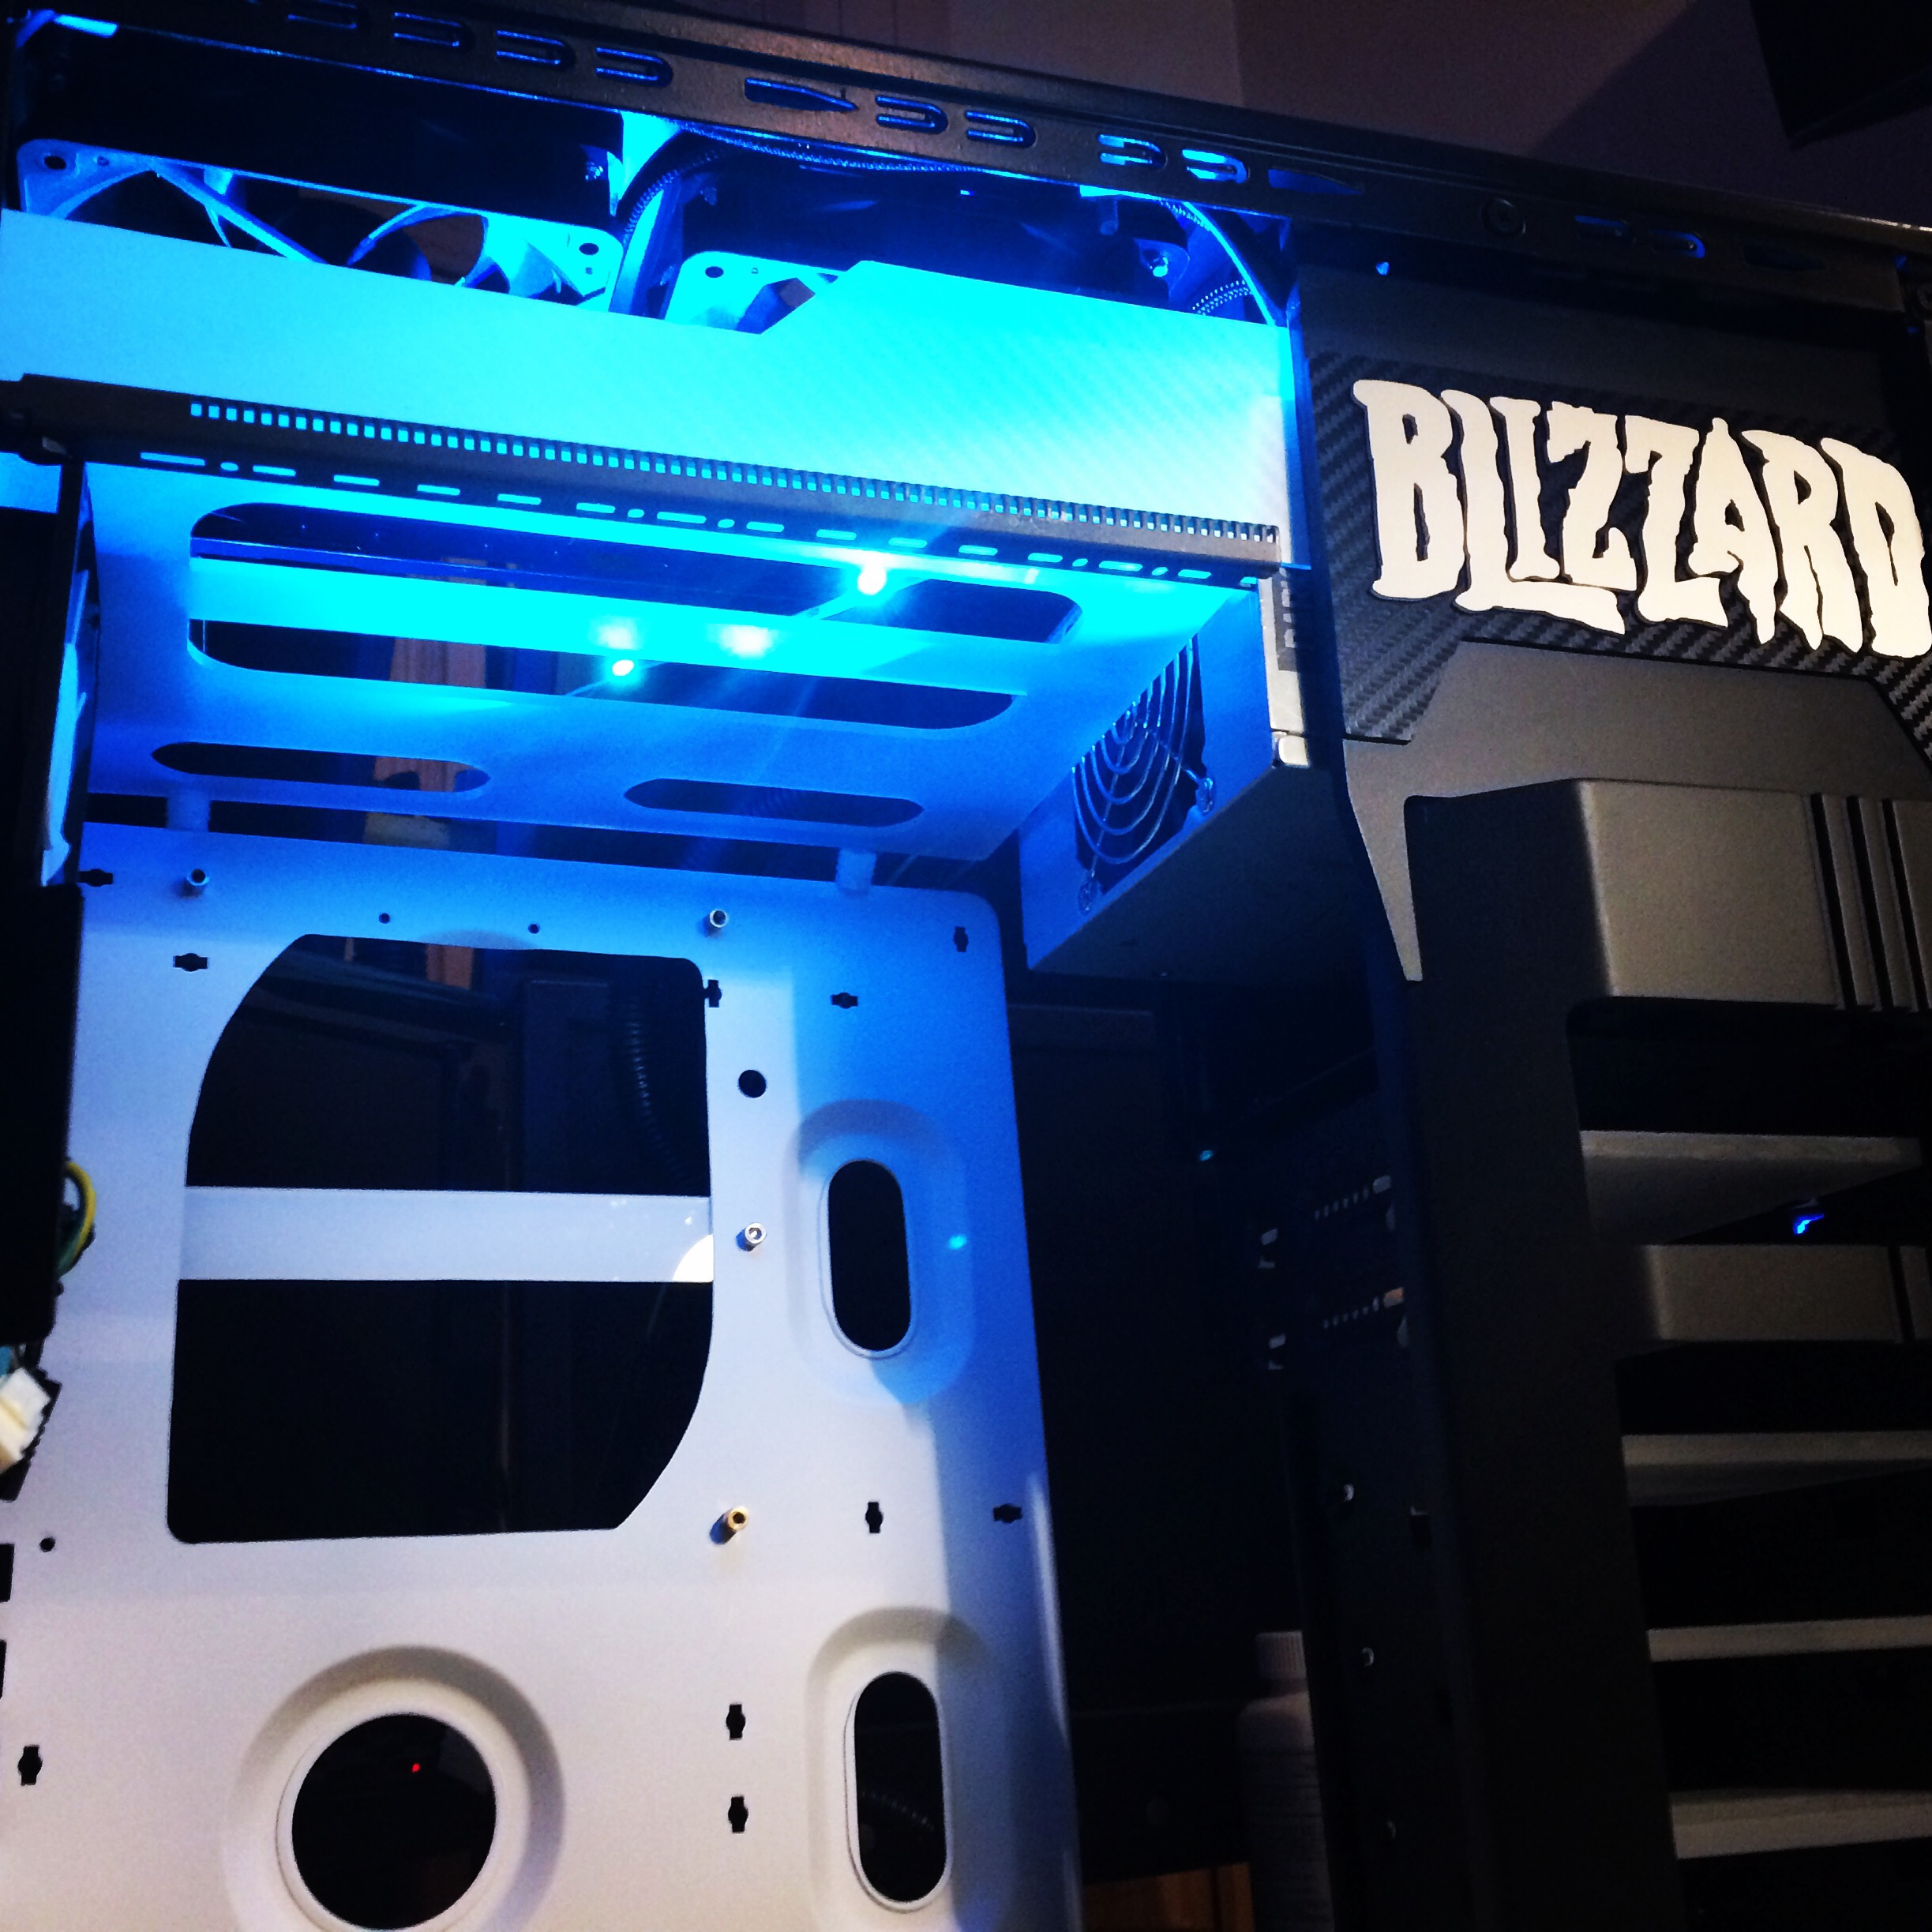
Since we moved the PSU to the optical bay we added an extensive cable management setup. A section of the motherboard tray has been cut out to allow for quick CPU cooler swaps.

Wireless controllers for the RGB LEDs have also been added.
Mini Mods:
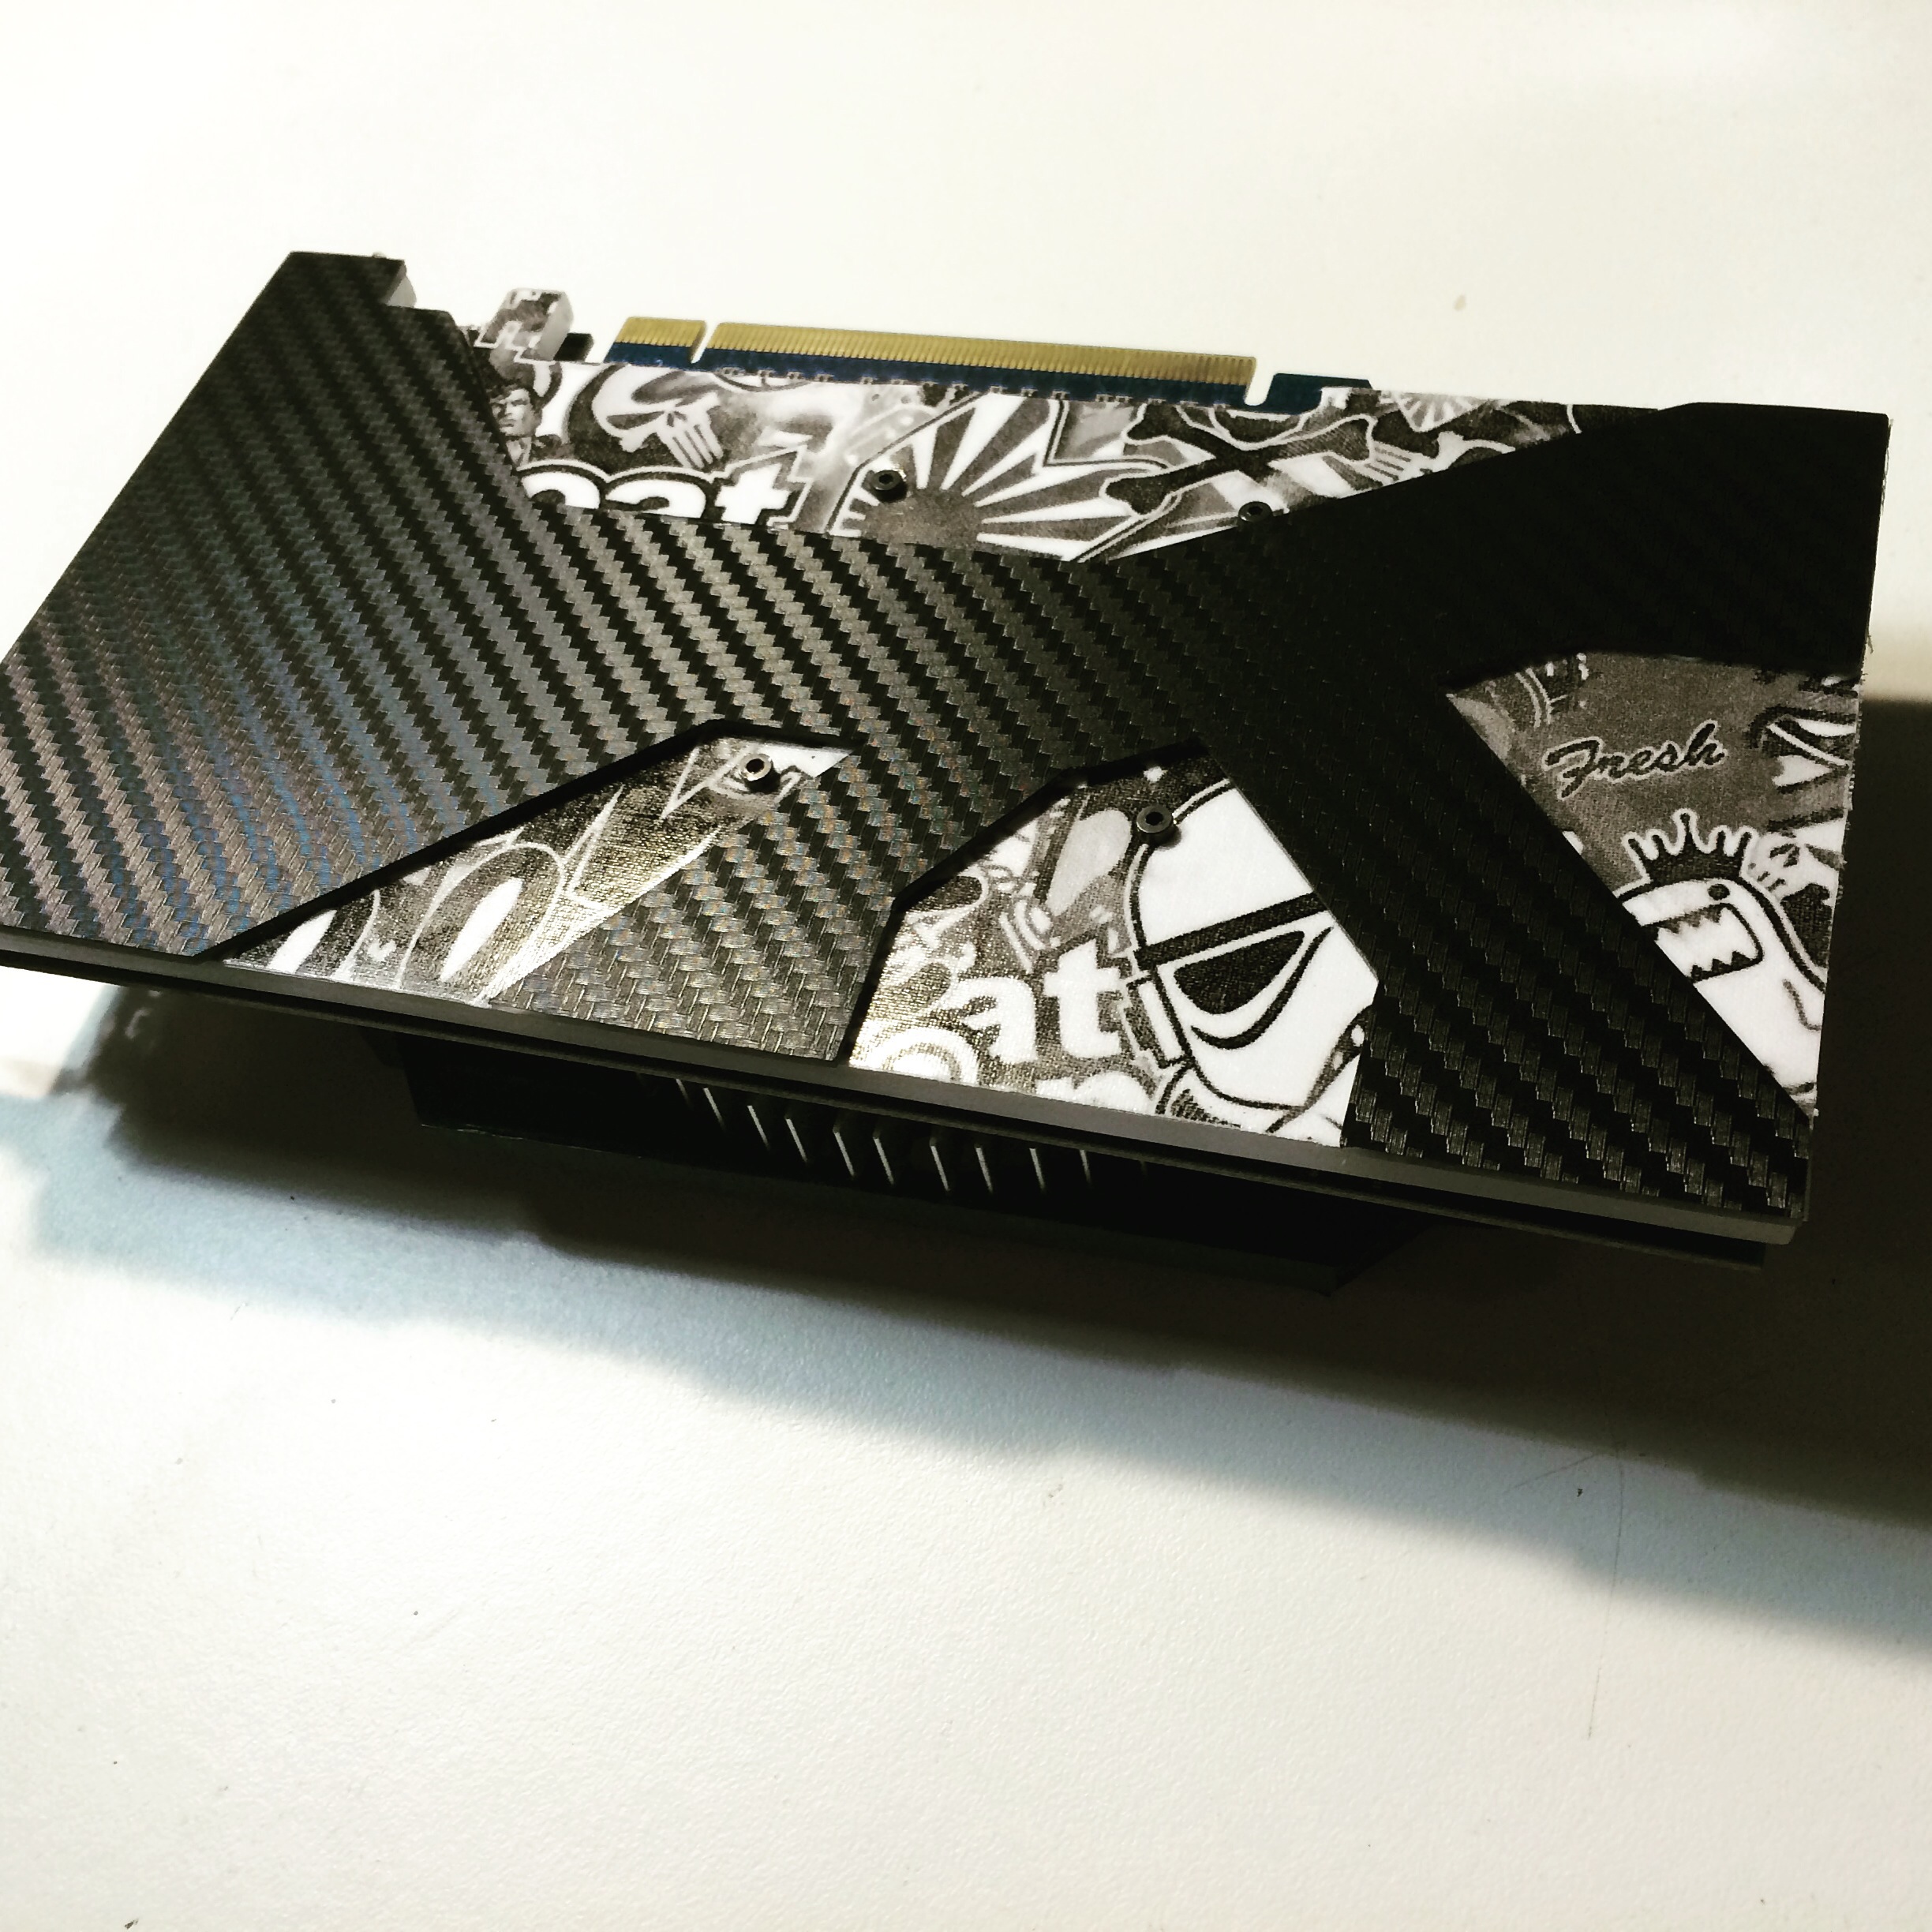
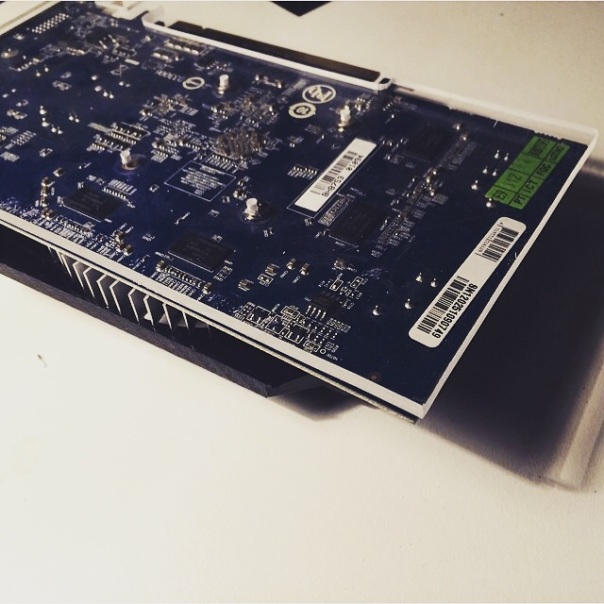
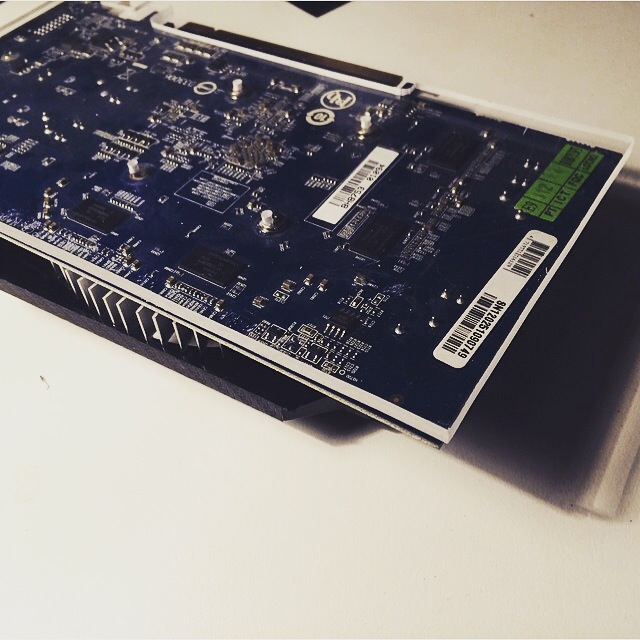
We built this GPU backplate using several different types of acrylic and vinyl.
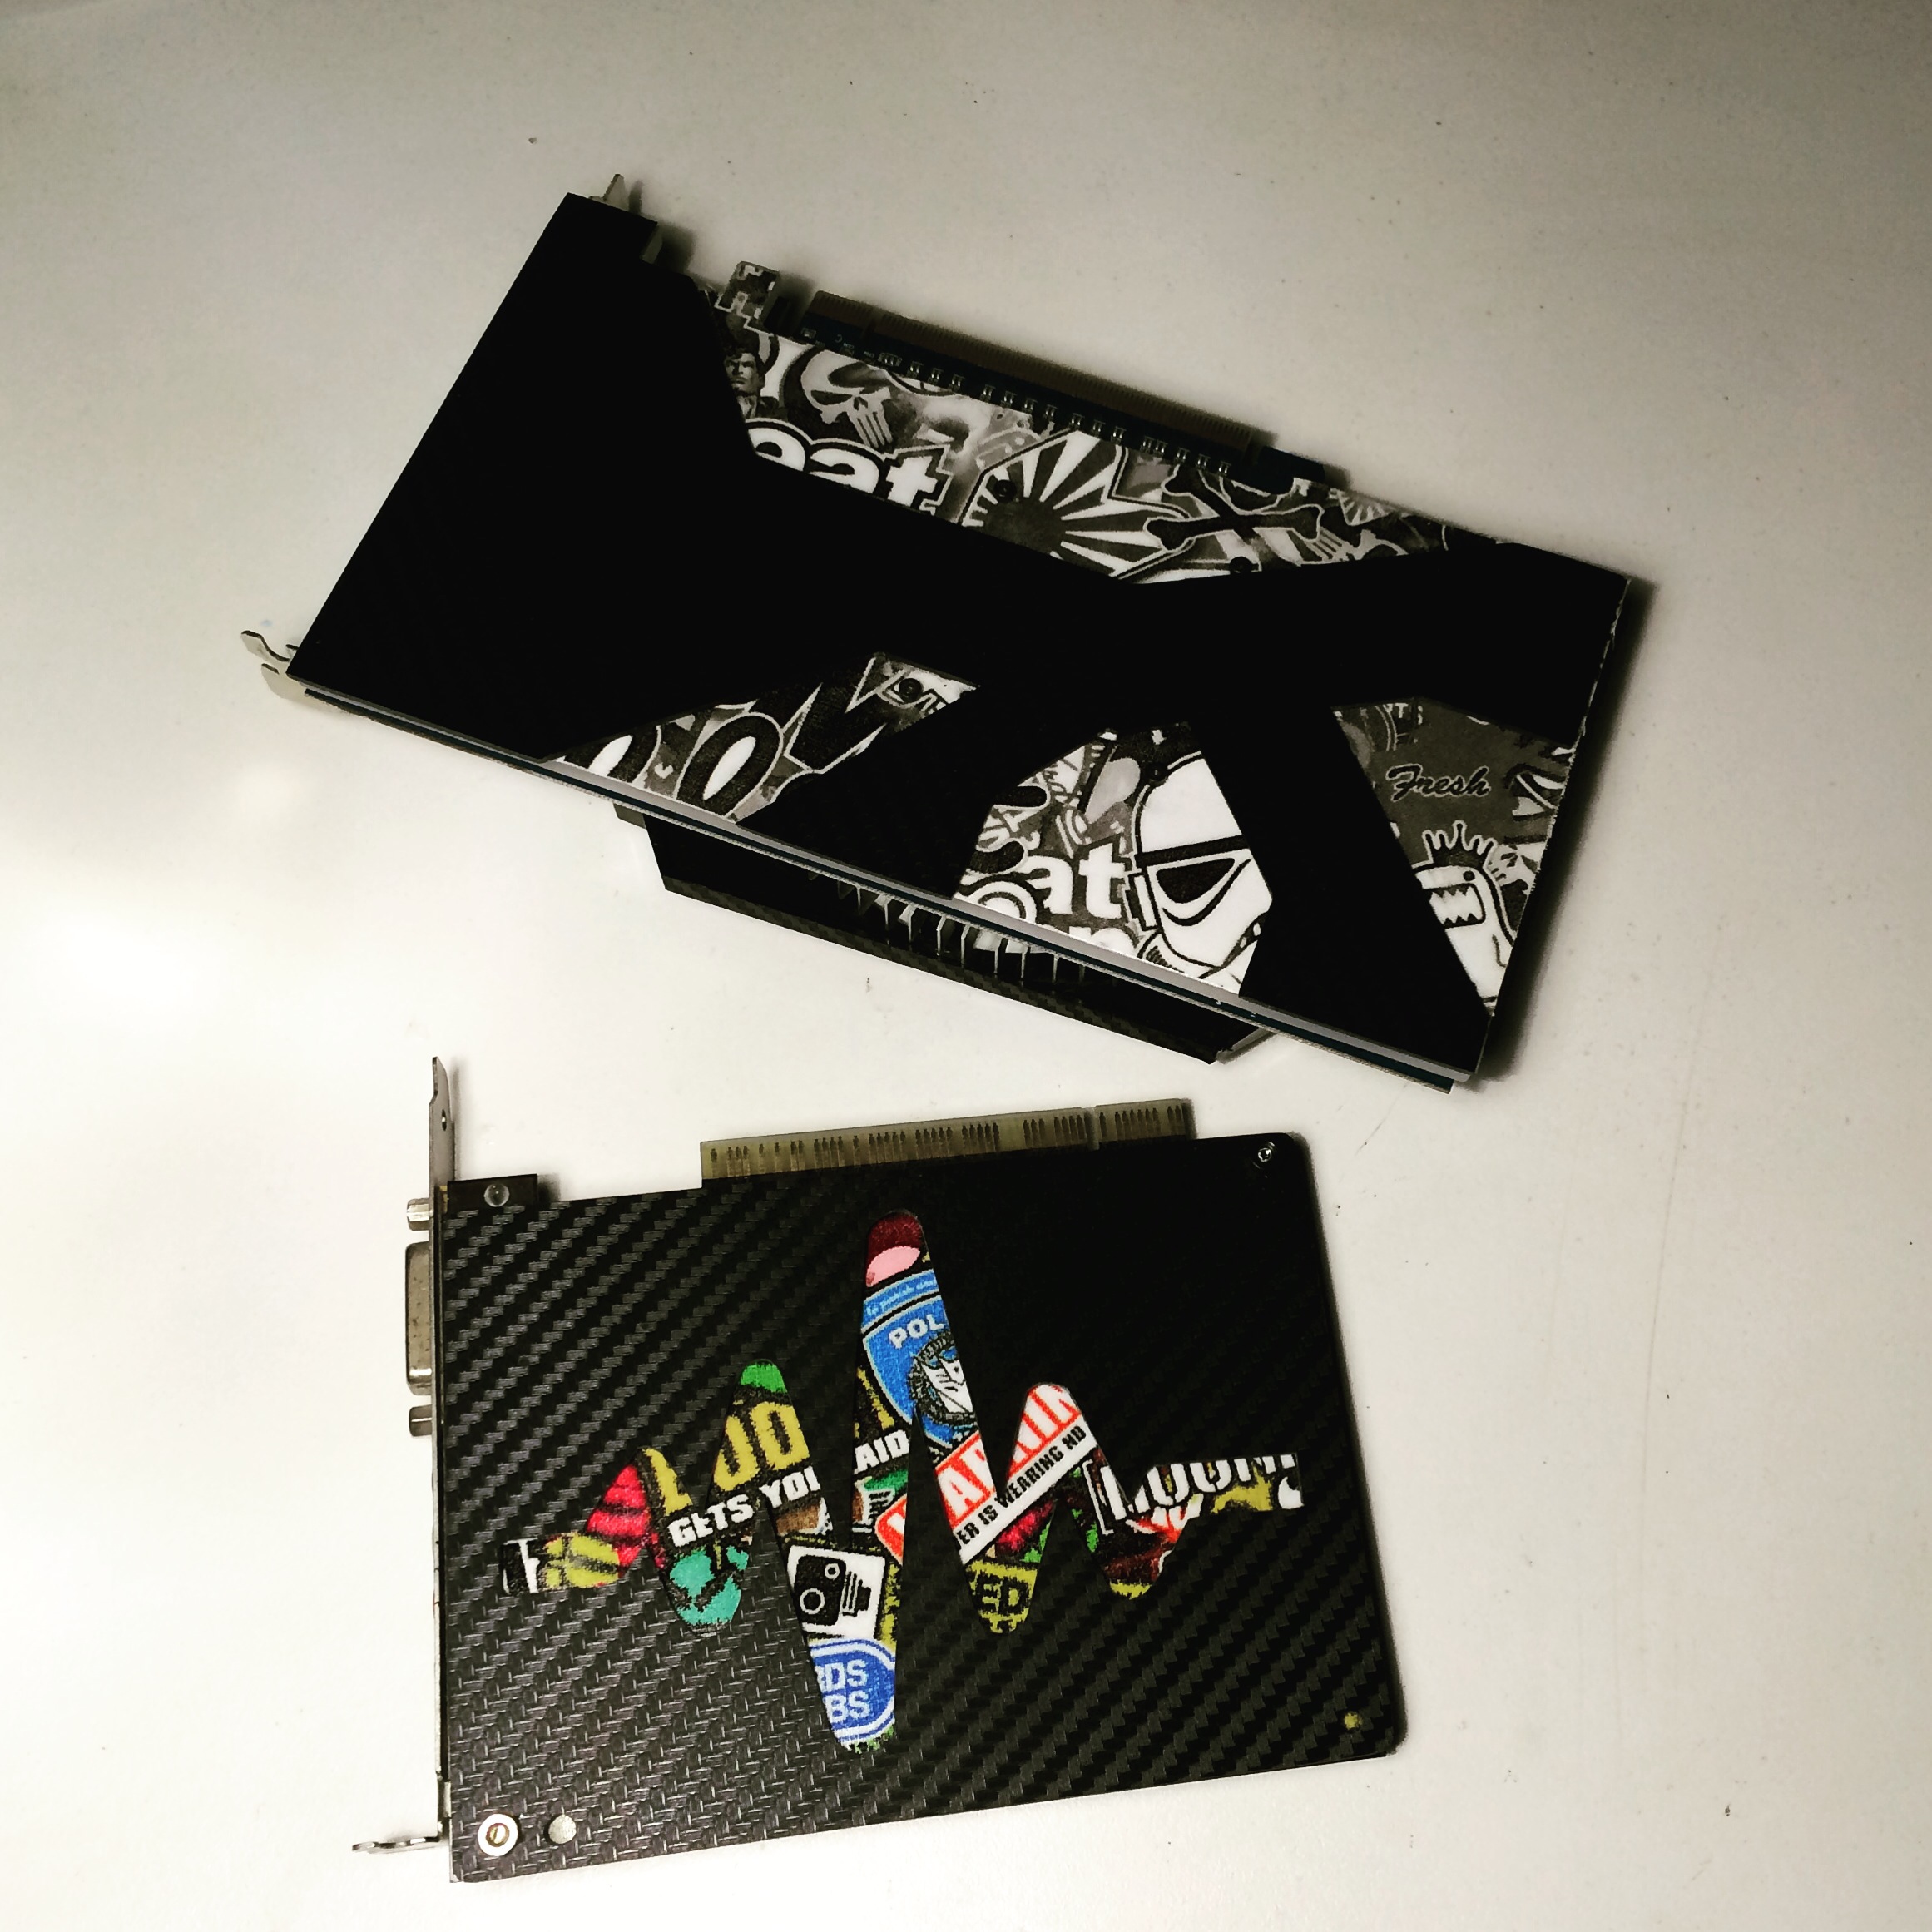
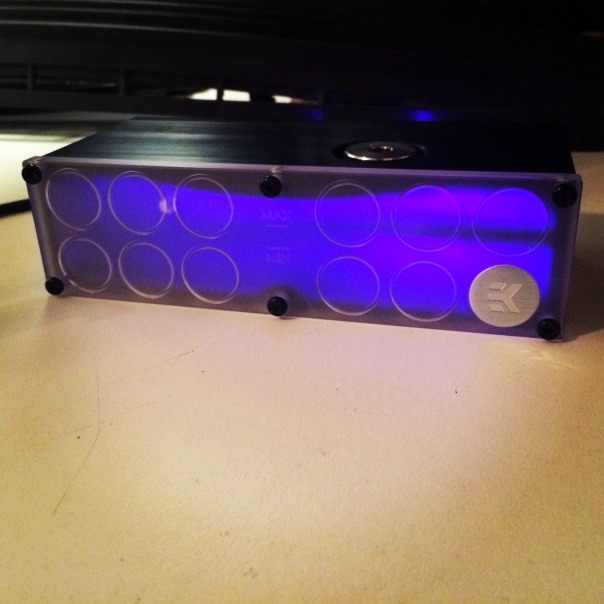
This colored acrylic backplate was made for a sound card.
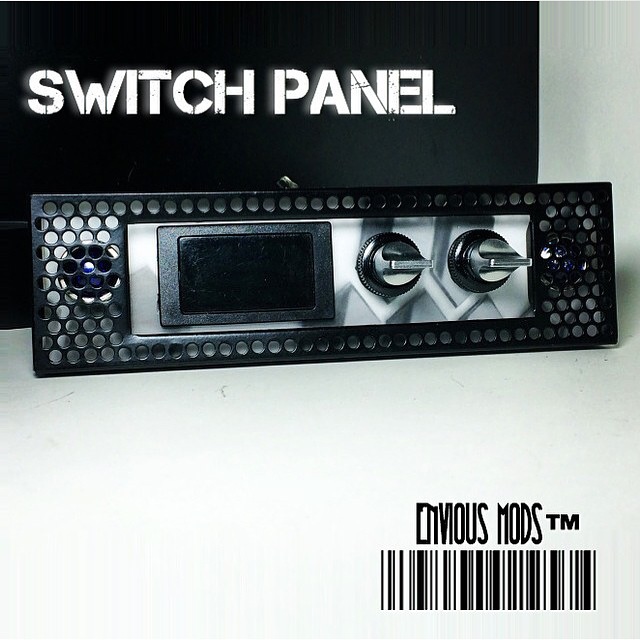
We custom made this optical bay switch panel that has an indicator light for each switch.
This GPU backplate was made using two seperate peices of acrylic

This hand made Terran Marine has been hand painted to give it a battle hardened look
 We custom modded this Sythe CPU cooler with acrylic and 3D printed parts
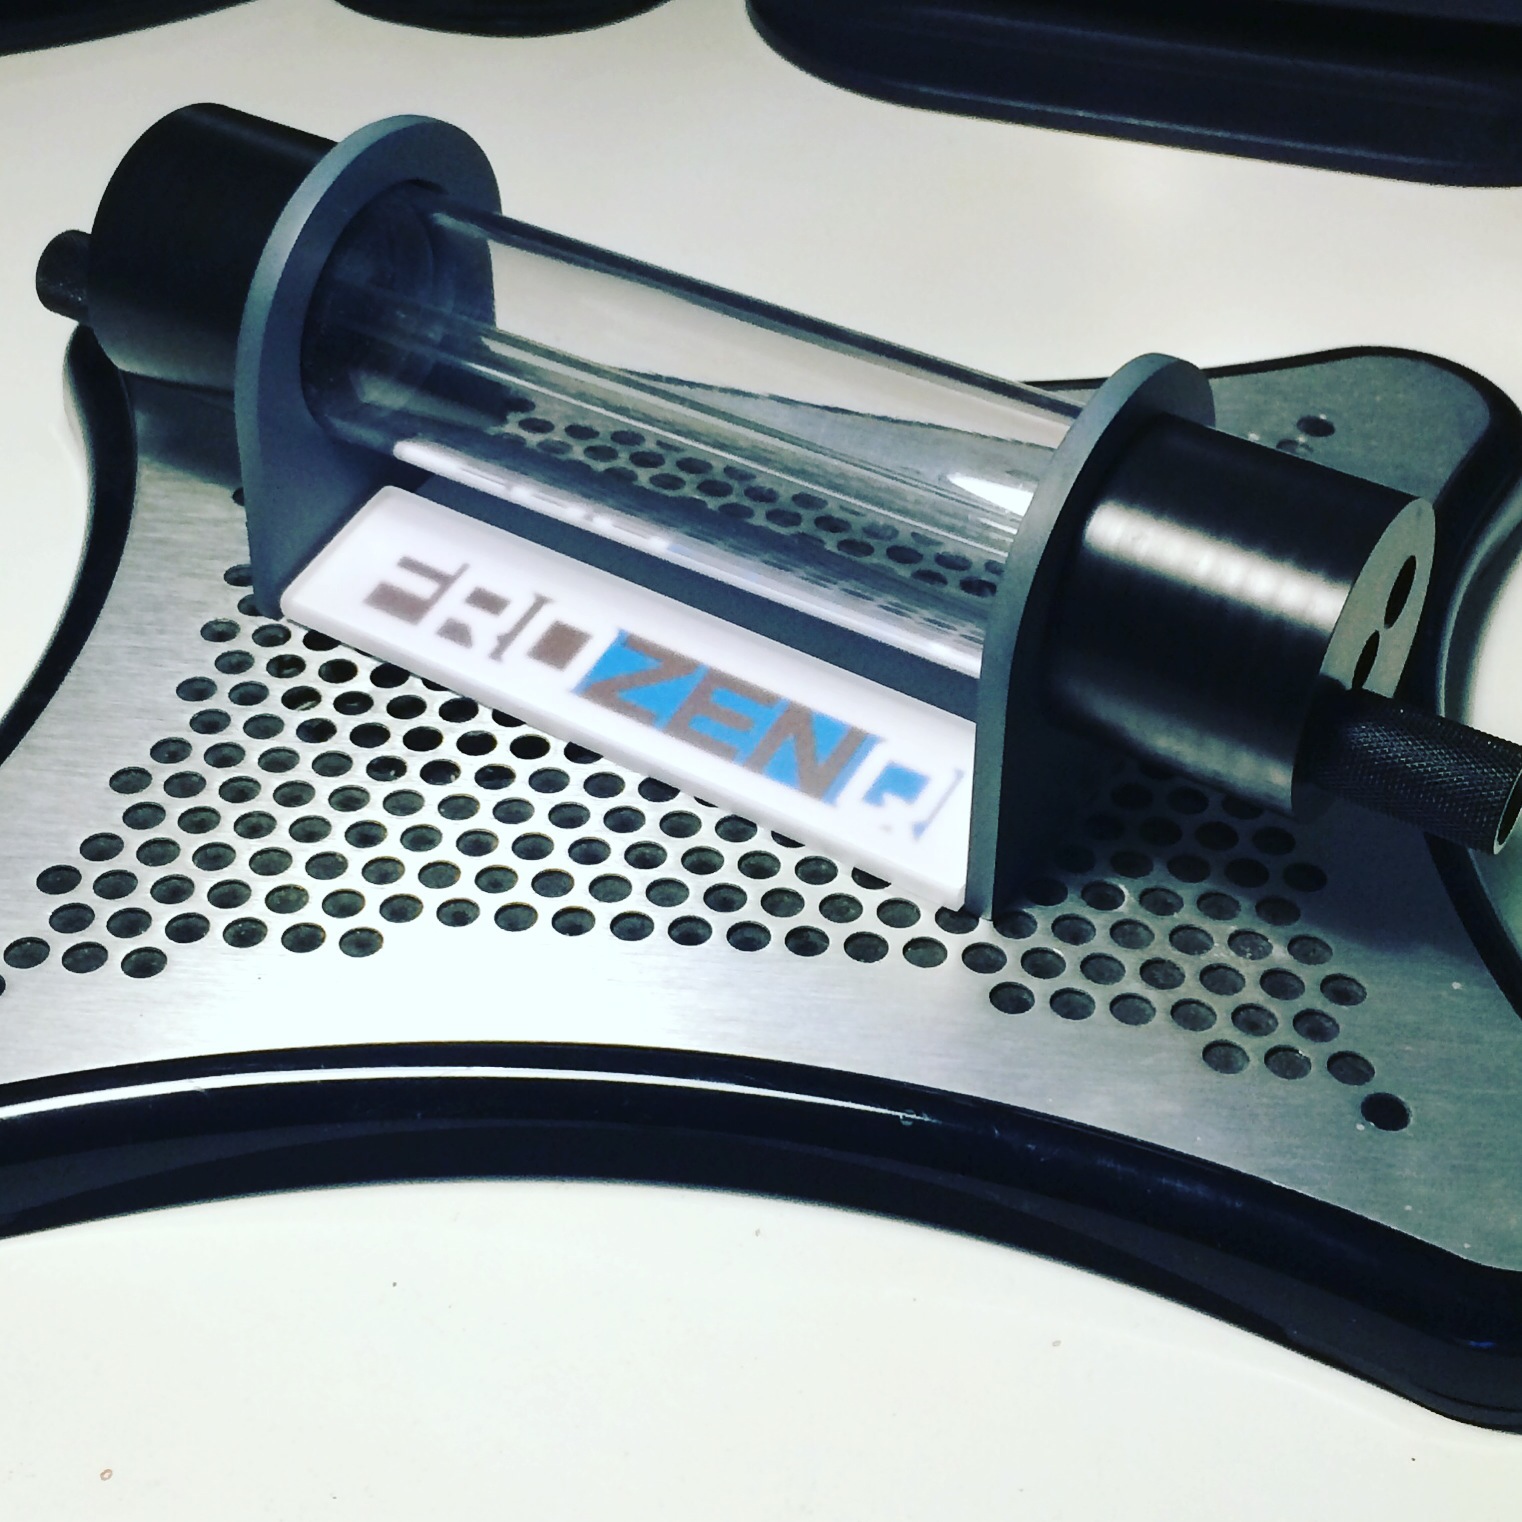
We made a custom mount and display for a FrozenQ res. We also replaced the cold cathode with LEDs. We custom sleeve and make cables
Modding Highlights: Here’s a few highlights of builds/mods we’ve done for customers at Envious Mods


If you interested in having custom case mods, pc builds or 3d printed parts done; contact Envious Mods
Share this:

All Things Printrbot Being Updated
I have started to go through the very popular page, ” All Things Printrbot – All in One Place.” I have started to re-organize the page as well as check all the links to make sure that there is no dead links. I will also be adding content for the updated Printrbot line-up. Check out the page and if you know of a site or link that you feel should be on the page; let me know via email or comments.
Share this:

StarCraft 2 Terran Themed Case Mod
StarCraft 2 Terran Case:
I have started to collect parts for future builds as well as a StarCraft 2 Terran case that has been requested by a few different people. I haven’t completely decided how I am going to do the SC (StarCraft) case. 3D models of Terran badges, shields and characters have been designed, which gets me into the right frame of mind. One ideas that I’ve been playing with is to make this case look like a console to a strategic nuclear strike that is used in the game.
More than likely I will go for a futuristic look that has been battle hardened. I can achieve this look through carful design and airbrushing techniques. After some painstaking work I was able to get a bunch of sound clips from the game such as the infamous, “Nuclear launch detected” and “incoming transmission, data link…” These might be used on the computer as notification sounds or a sequence when the computer is first turned on/reset.
So It Begins:
Terran Shield:
This case has a fairly tight schedule and its being done at the same time as a few other builds. So far we have decided to mount the Terran shield on the right side panel. It will be fairly large and it will be cut from pretty thick lexan. More than likely I will add vinyl to the top and back lite the lexan which will make the edges of the shield glow.
Terran Shield Build:
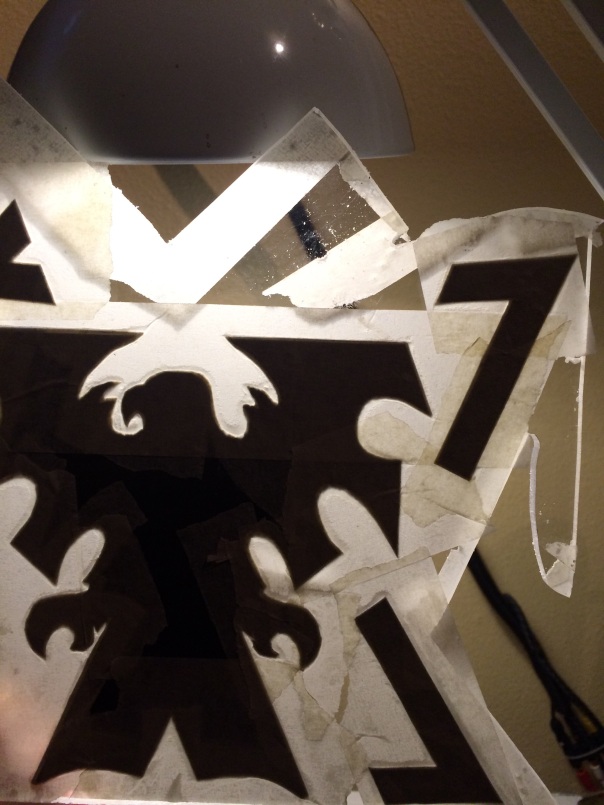
I found a image of the shield online and used Microsoft paint to scale it to the proper size (8 X 11 inches.) I took the prints template and cut it so that I could make a new template using hard stock. Once the hard stock is cut out I used painters tape to mount it to a piece of lexan. After that I made quick work of cutting out the template on my scroll saw. Now that I have the shield cut out I need to sand all the edges smooth. Typically I will start sanding with 100 grit sandpaper and a set of small needle files to get everything perfectly straight.
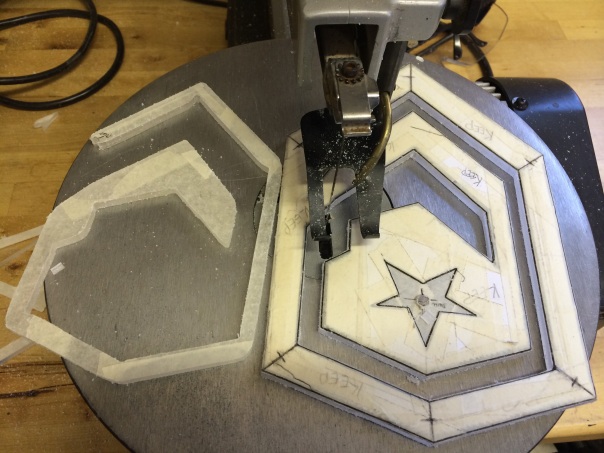

The rougher sandpaper also helps to sand away any tool marks left behind from cutting it out on my scroll saw. Working your way up to finer sandpaper (2000+ grit) helps to polish the edges smooth. All I have left is to get the LEDs setup for the rear lighting and figure out what I’m going to use to cover the top layer. More than likely I will use either vinyl or thin metal for the top.
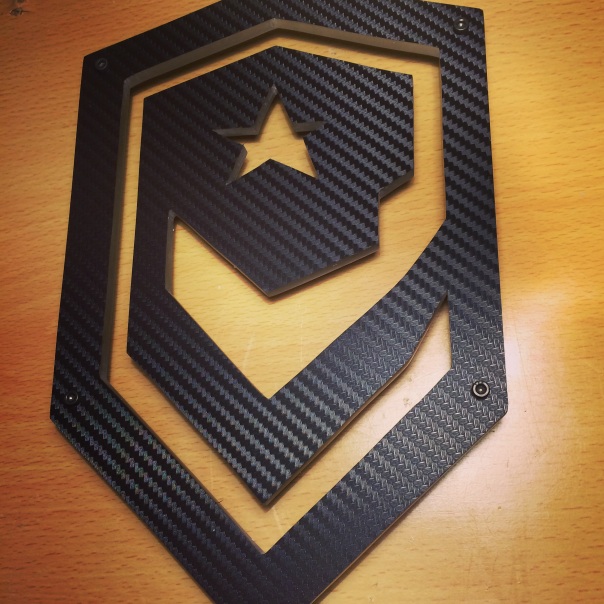
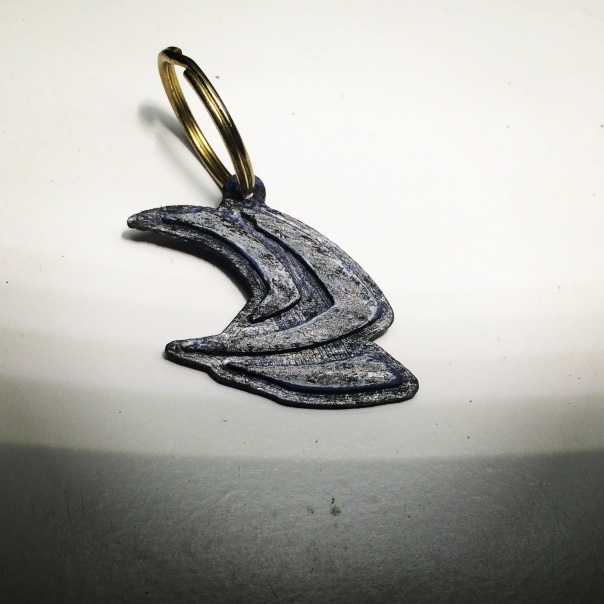
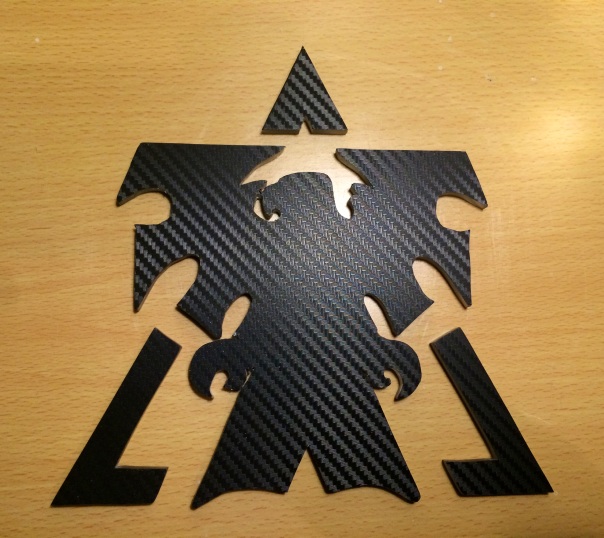
Terran Eagle Logo:
The Terrans have two different logos/shields. One is the first one I made that looks like a shield and the second one is an eagle with a triangle. I thought it would be sweet to have them both because, after all it is a terran case. I will go through the same process as I did with the last one. The main difference is the amount of detail and the fact that this logo isn’t all one piece. I will have to figure out some sort of backplate to hold all the pieces in place.
Here’s the almost completed Terran Logo:

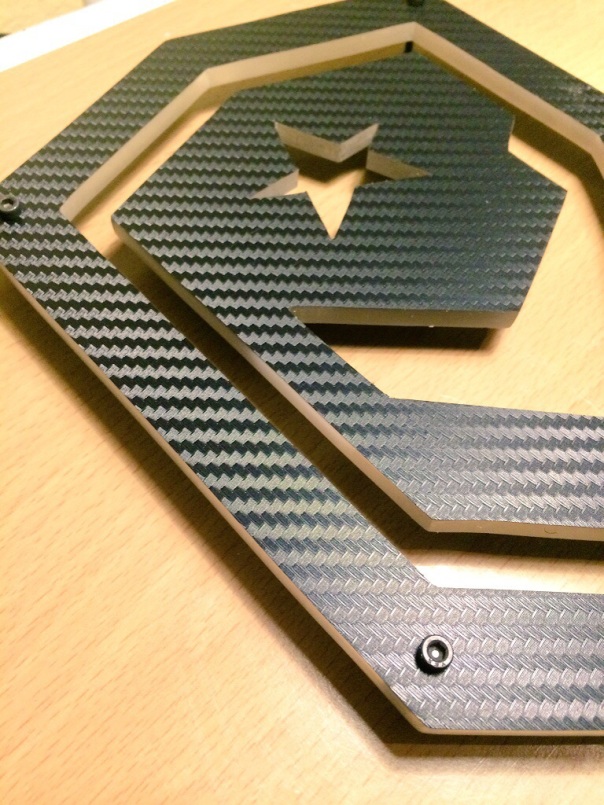
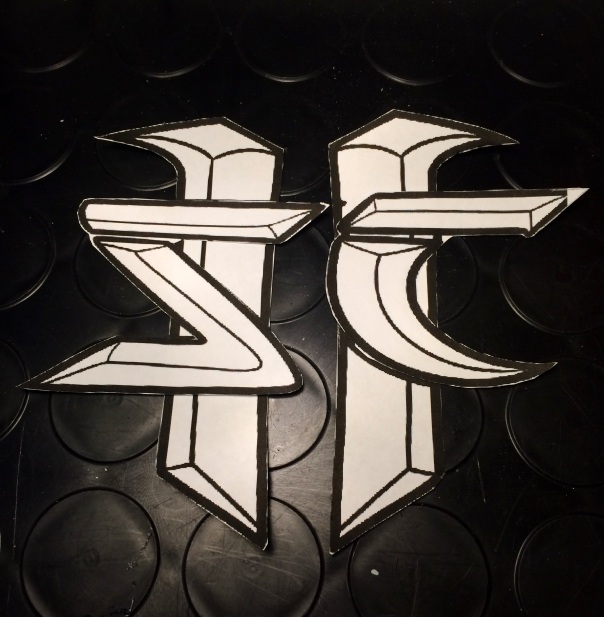
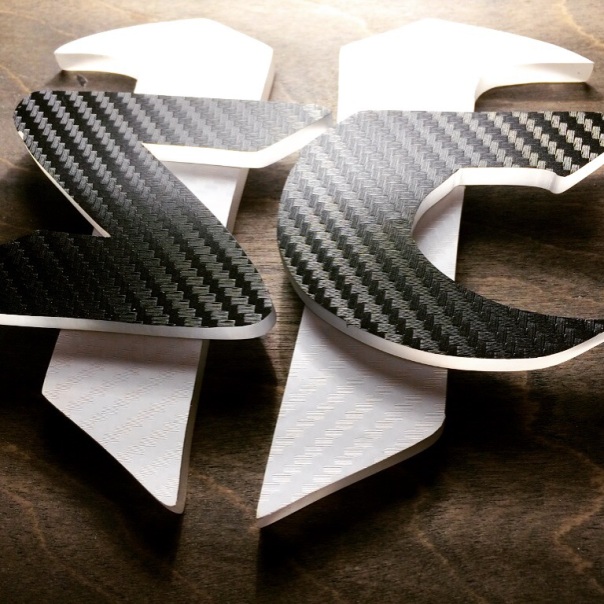
StarCraft SC2 Build
I spent the last couple days working on the StarCraft 2 piece that will mounted either on the front or top of the case. I started by first printing out a template and then cut it all out of lexan. I later decided to wrap it in white and black carbon fiber to match the overall feal for the case.


Share this:


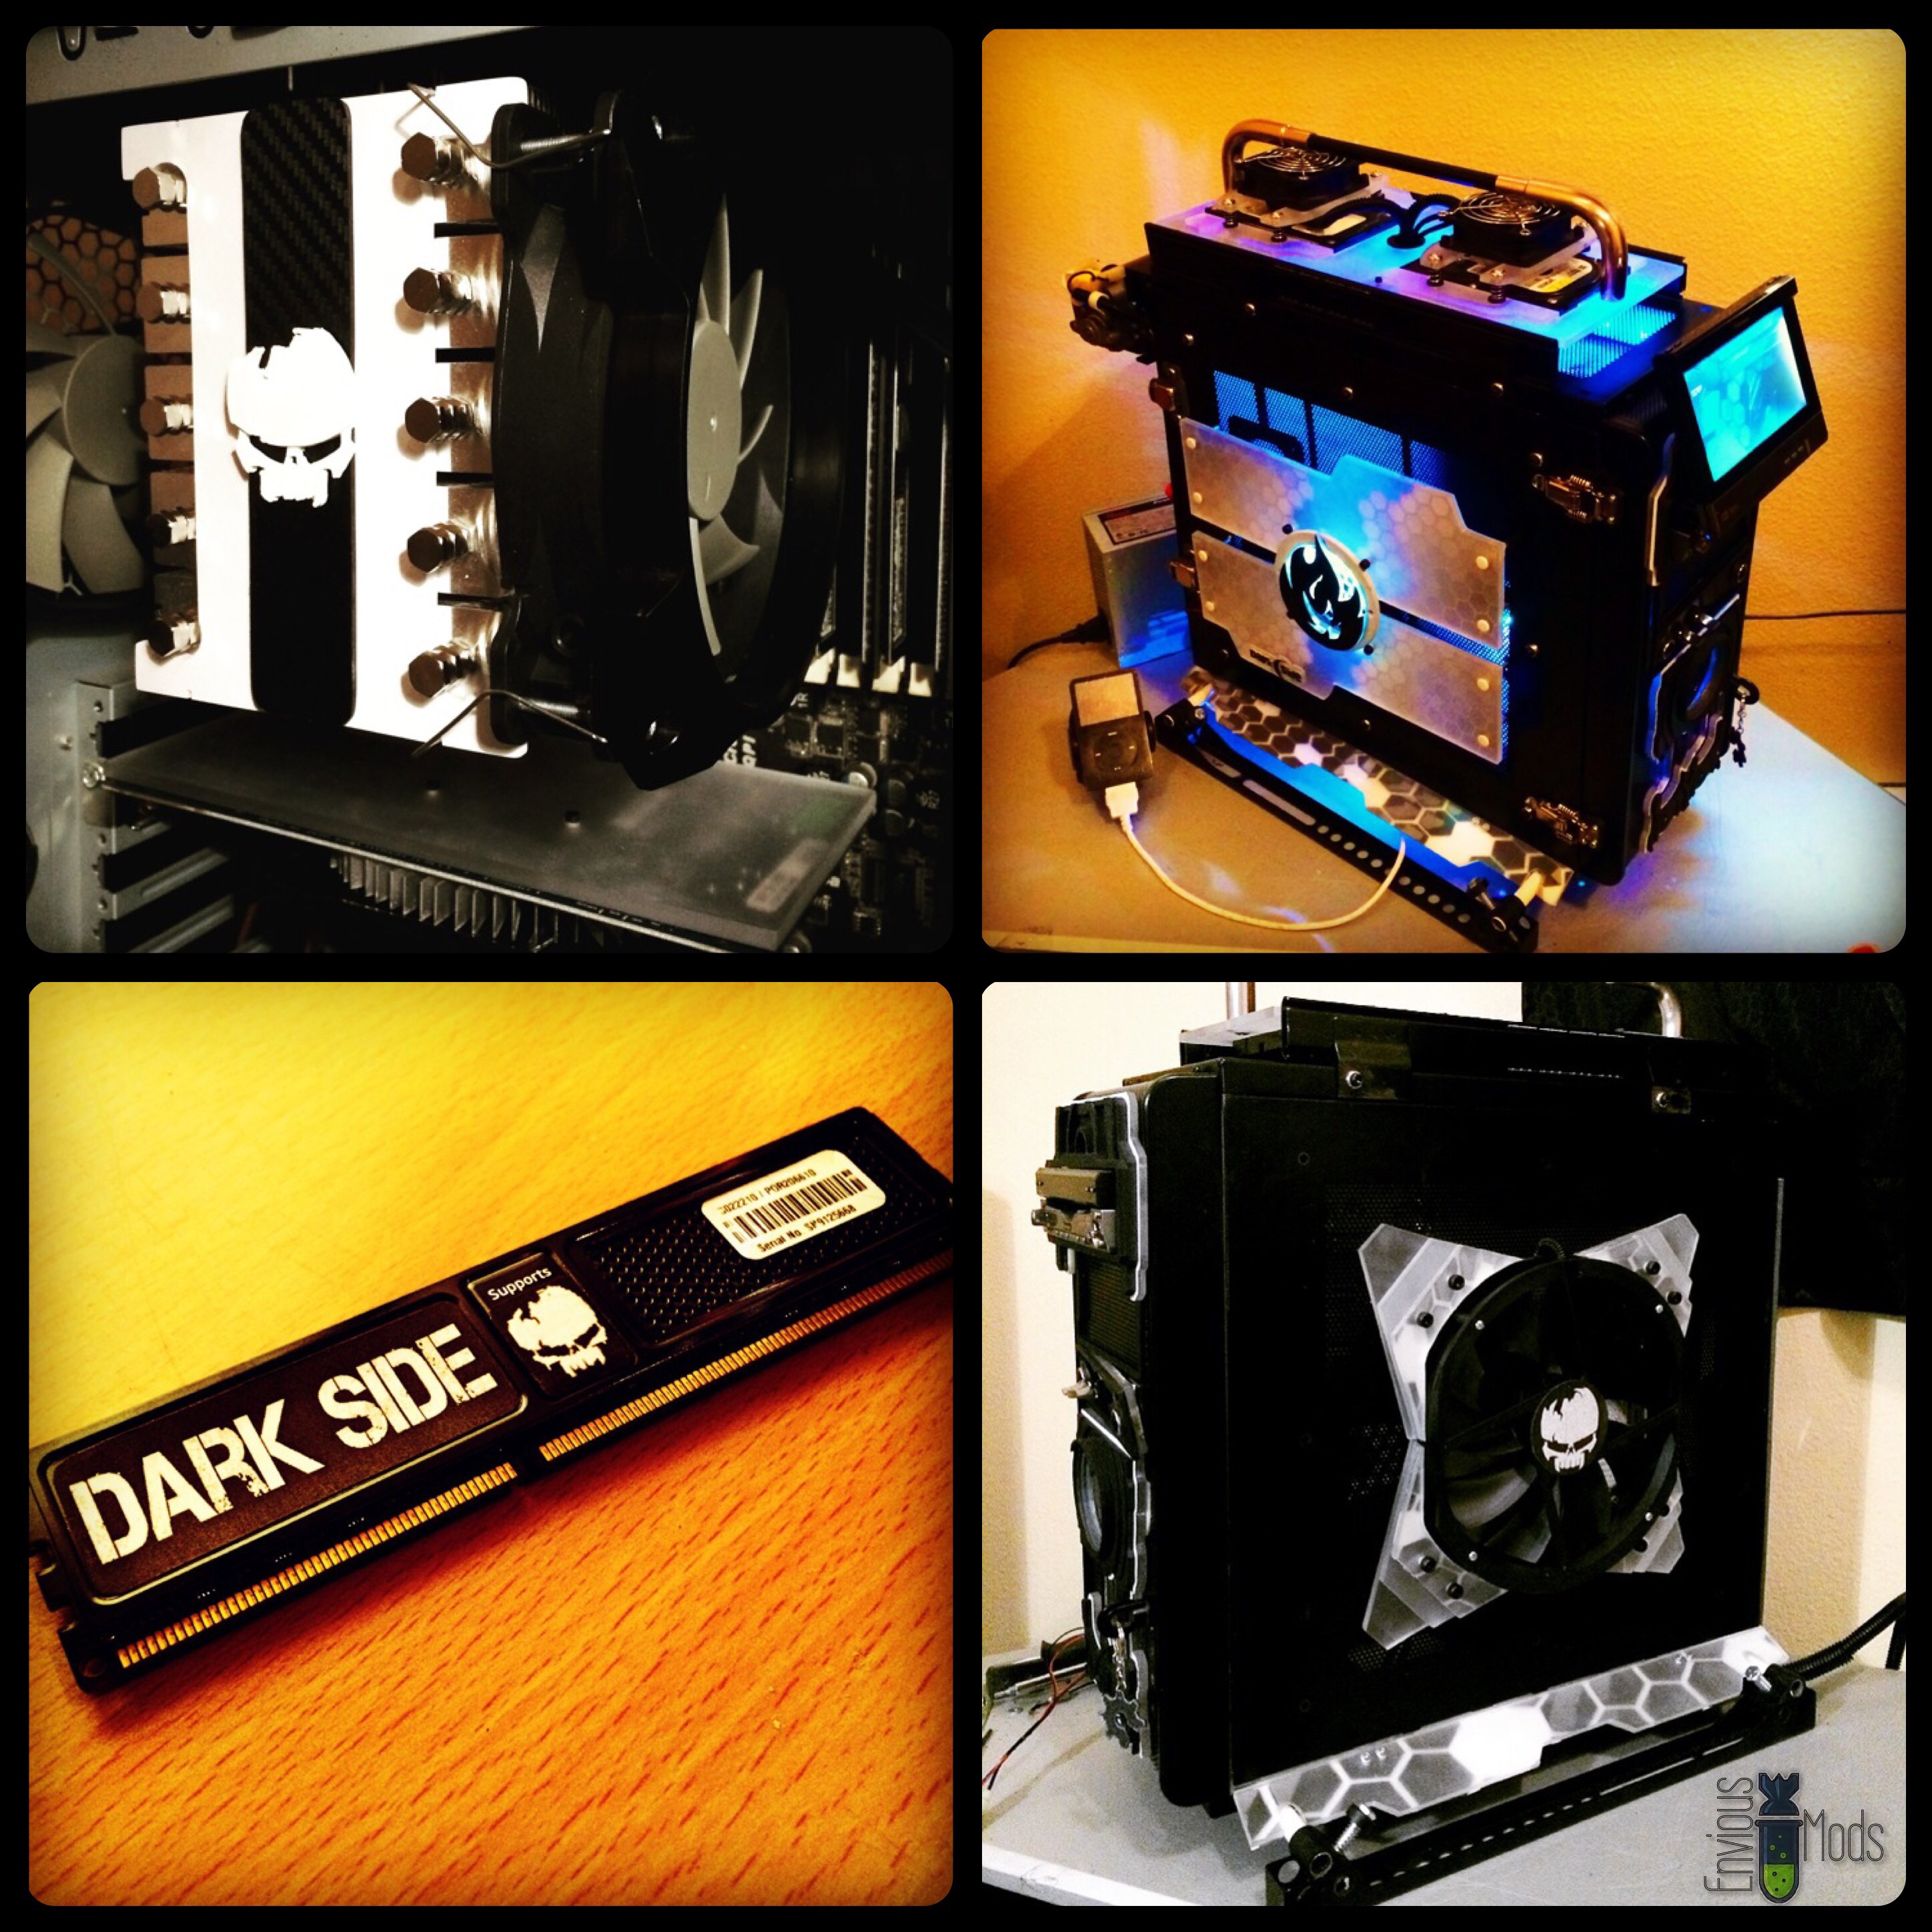
3D Printing Hits Case Modding
3D printing has taken the manufacturing industry by storm but, it’s also recently weaved it’s way into PC Case Modding. PC Case Modding is a way that users can customize their desktops to be an extension of their personalities. Much like how we love to mod our 3D printers to fit our needs and style. I have found that 3D printing has made it’s way into many sub markets but, case modding wasn’t one of those until more recently. Being a huge fan of both modding and 3D printing; I decided it was time that they both met.
I grabbed a 10+ year old case and tore into it, promising to myself that it would be something that had never been seen before. The build soon became known as, “The Dark Side” case mod. I tore into it taking my style and 3D printer along for the ride. The case started out as PC version of Macs G5 styling.
Its 3 months later and I still haven’t let go of the build. Almost all of the 3D printed parts on this case have been designed and built from scratch by me. There is still a long way to go but, this build has already grabbed the attention of thousands via OverClock.Net. It’s build log (from start to current date) can be found in the work log section of case modding or by clicking HERE.
Here are a few highlights from the build:


The entire front panel of the case is made up of 3D printed parts

The top hinges and slides back to offer up access to parts of the case that are typically hidden.


The side panel has been remounted to make them suicide doors sitting on farrari hinges.

Custom brackets were designed to merry the bottom skids. These skids keep the case off of the ground which helps with cooling.
We’ve made a ton of progress lately. Here’s some of it:


This is a motorized flip out touch screen that is used to monitor system information. It can also be used as an extra monitor. It has a intigrated 60 gig hard drive as well.

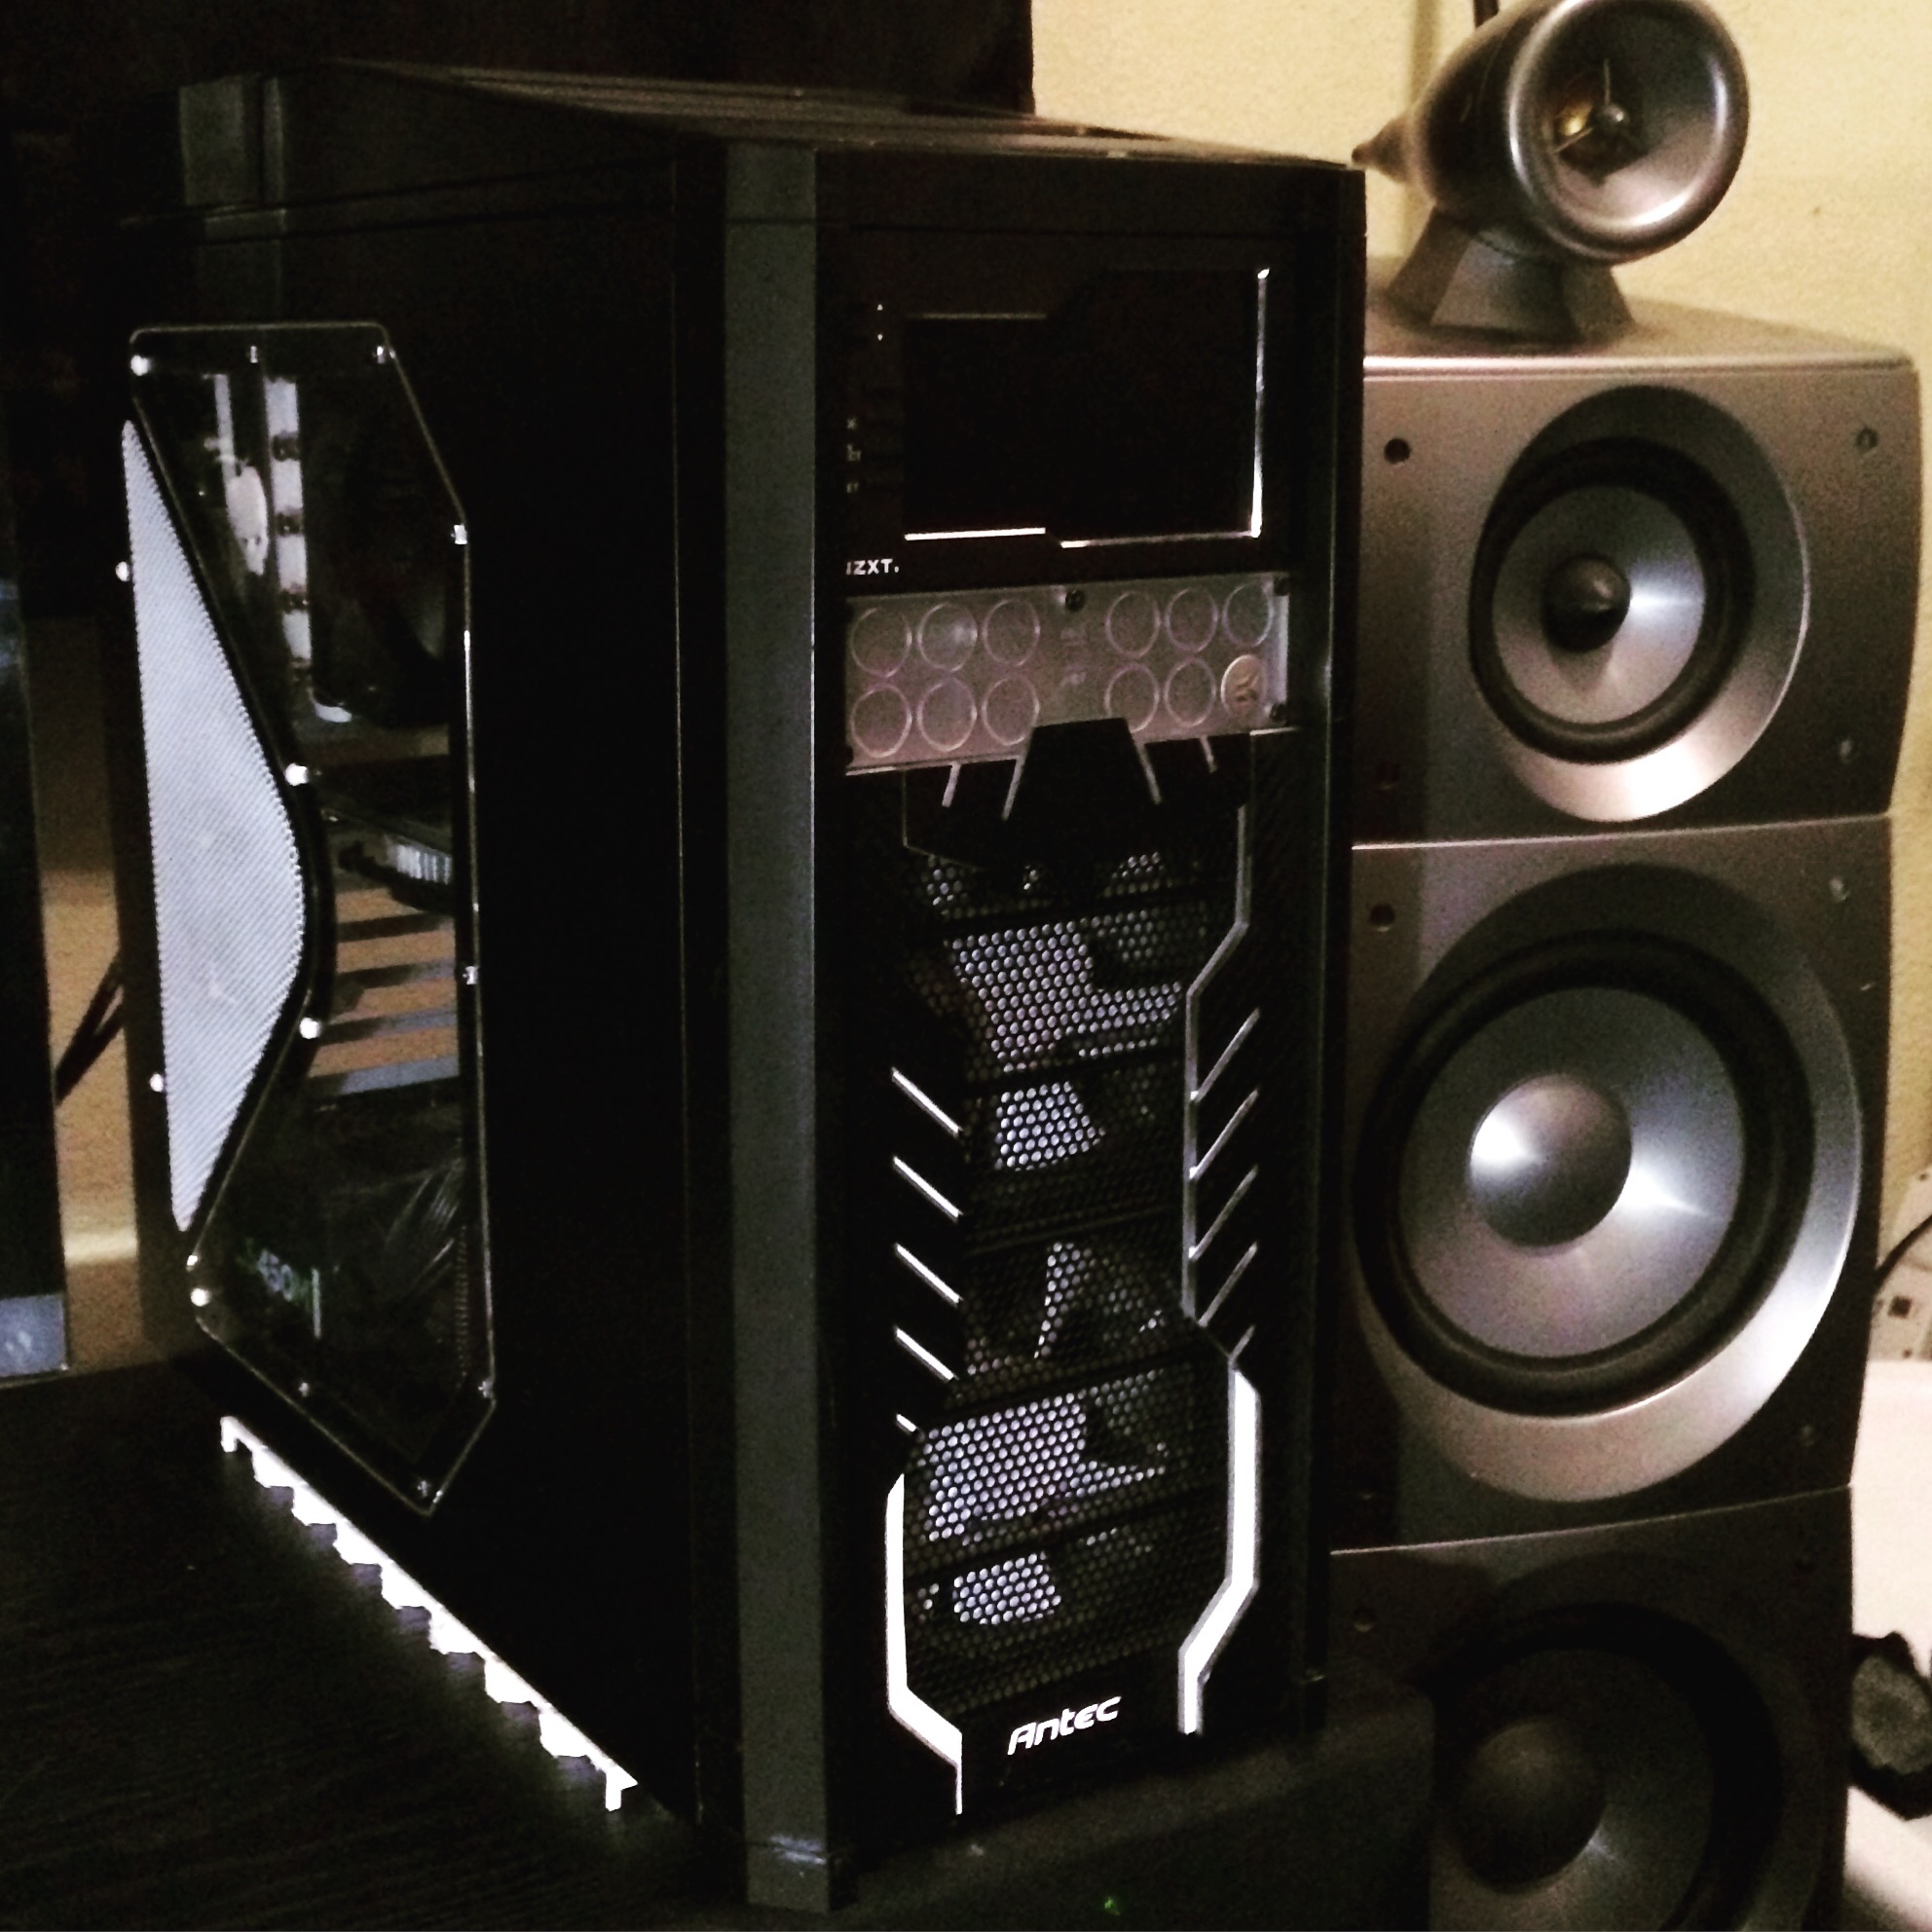
This is our side mounted 200mm Antec fan. Custom brackets were made to mount it to the panel.


There are custom ordered, spring reinforced draw latches for the side panel.

We added a carbon fiber wrapped OverClock.net flame on the side. It’s back lit and also has a fan mounted to exhaust air from the case.

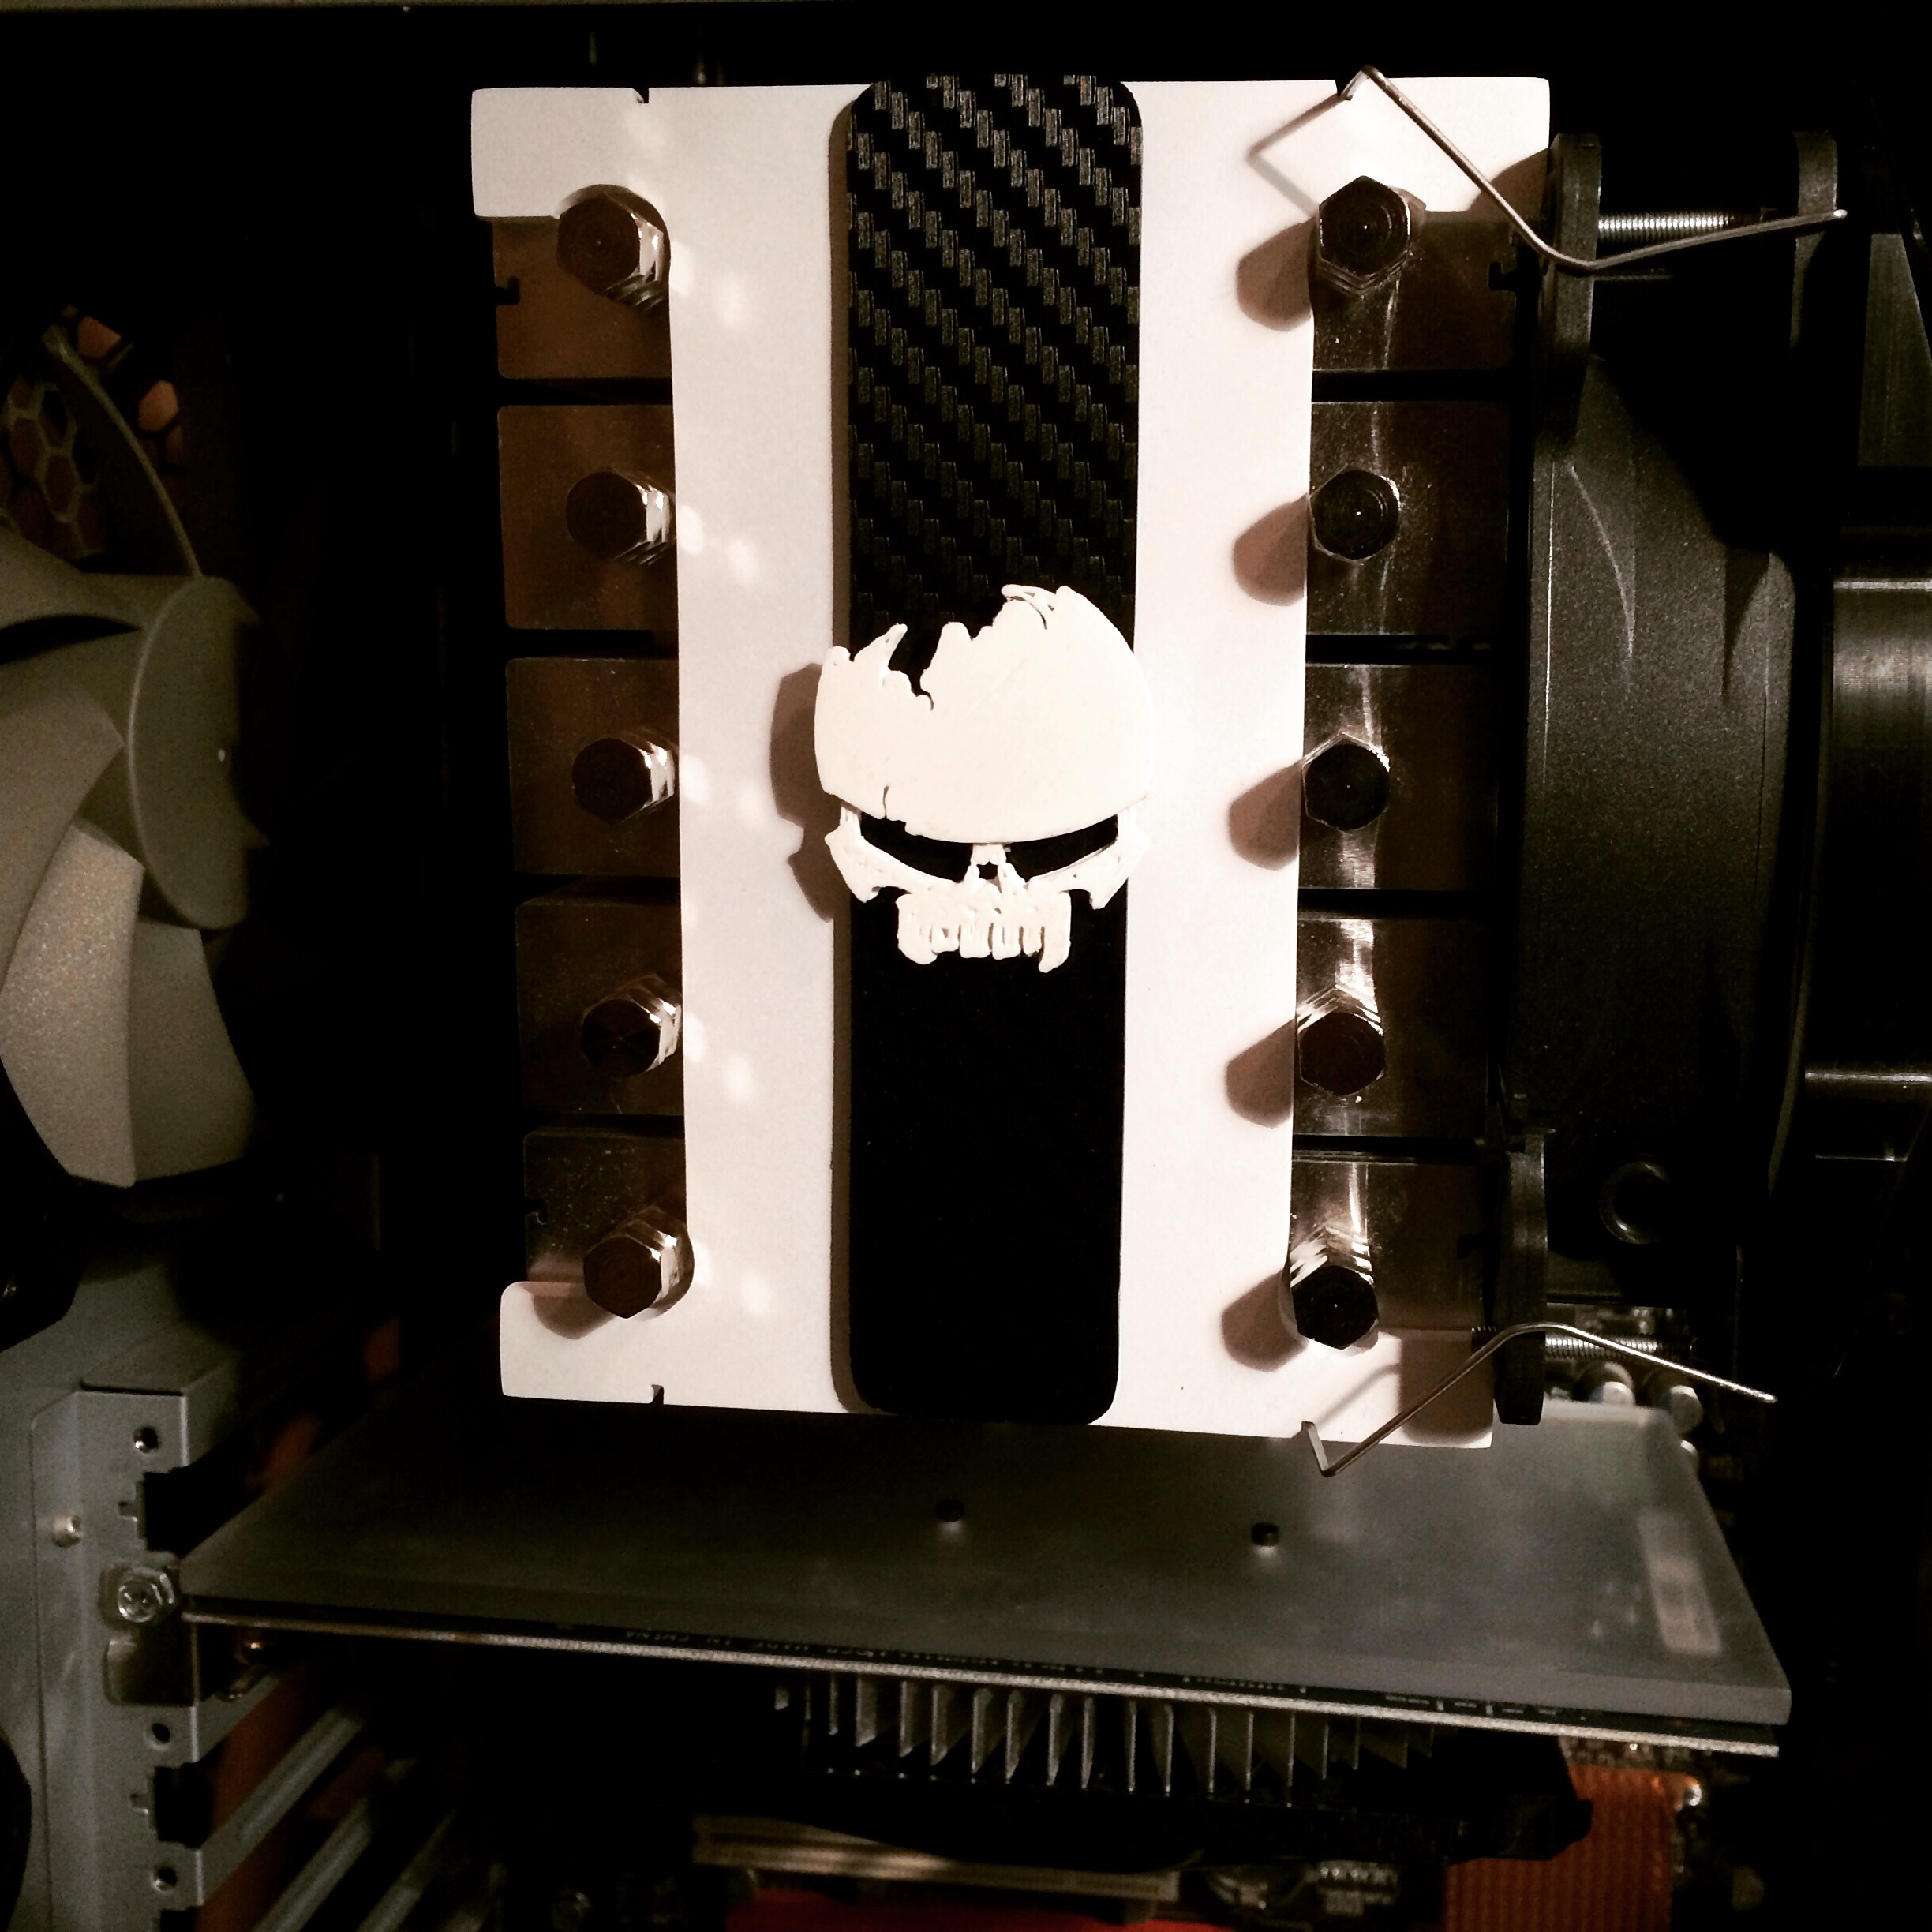
This is a custom built ReaperN1 avatar that has been added to the top of the massive CPU cooler.

Updated pics of The Dark Side Case Mod:

The Dark Side Case Mod is getting close to completion but, it still has lots of work to go.

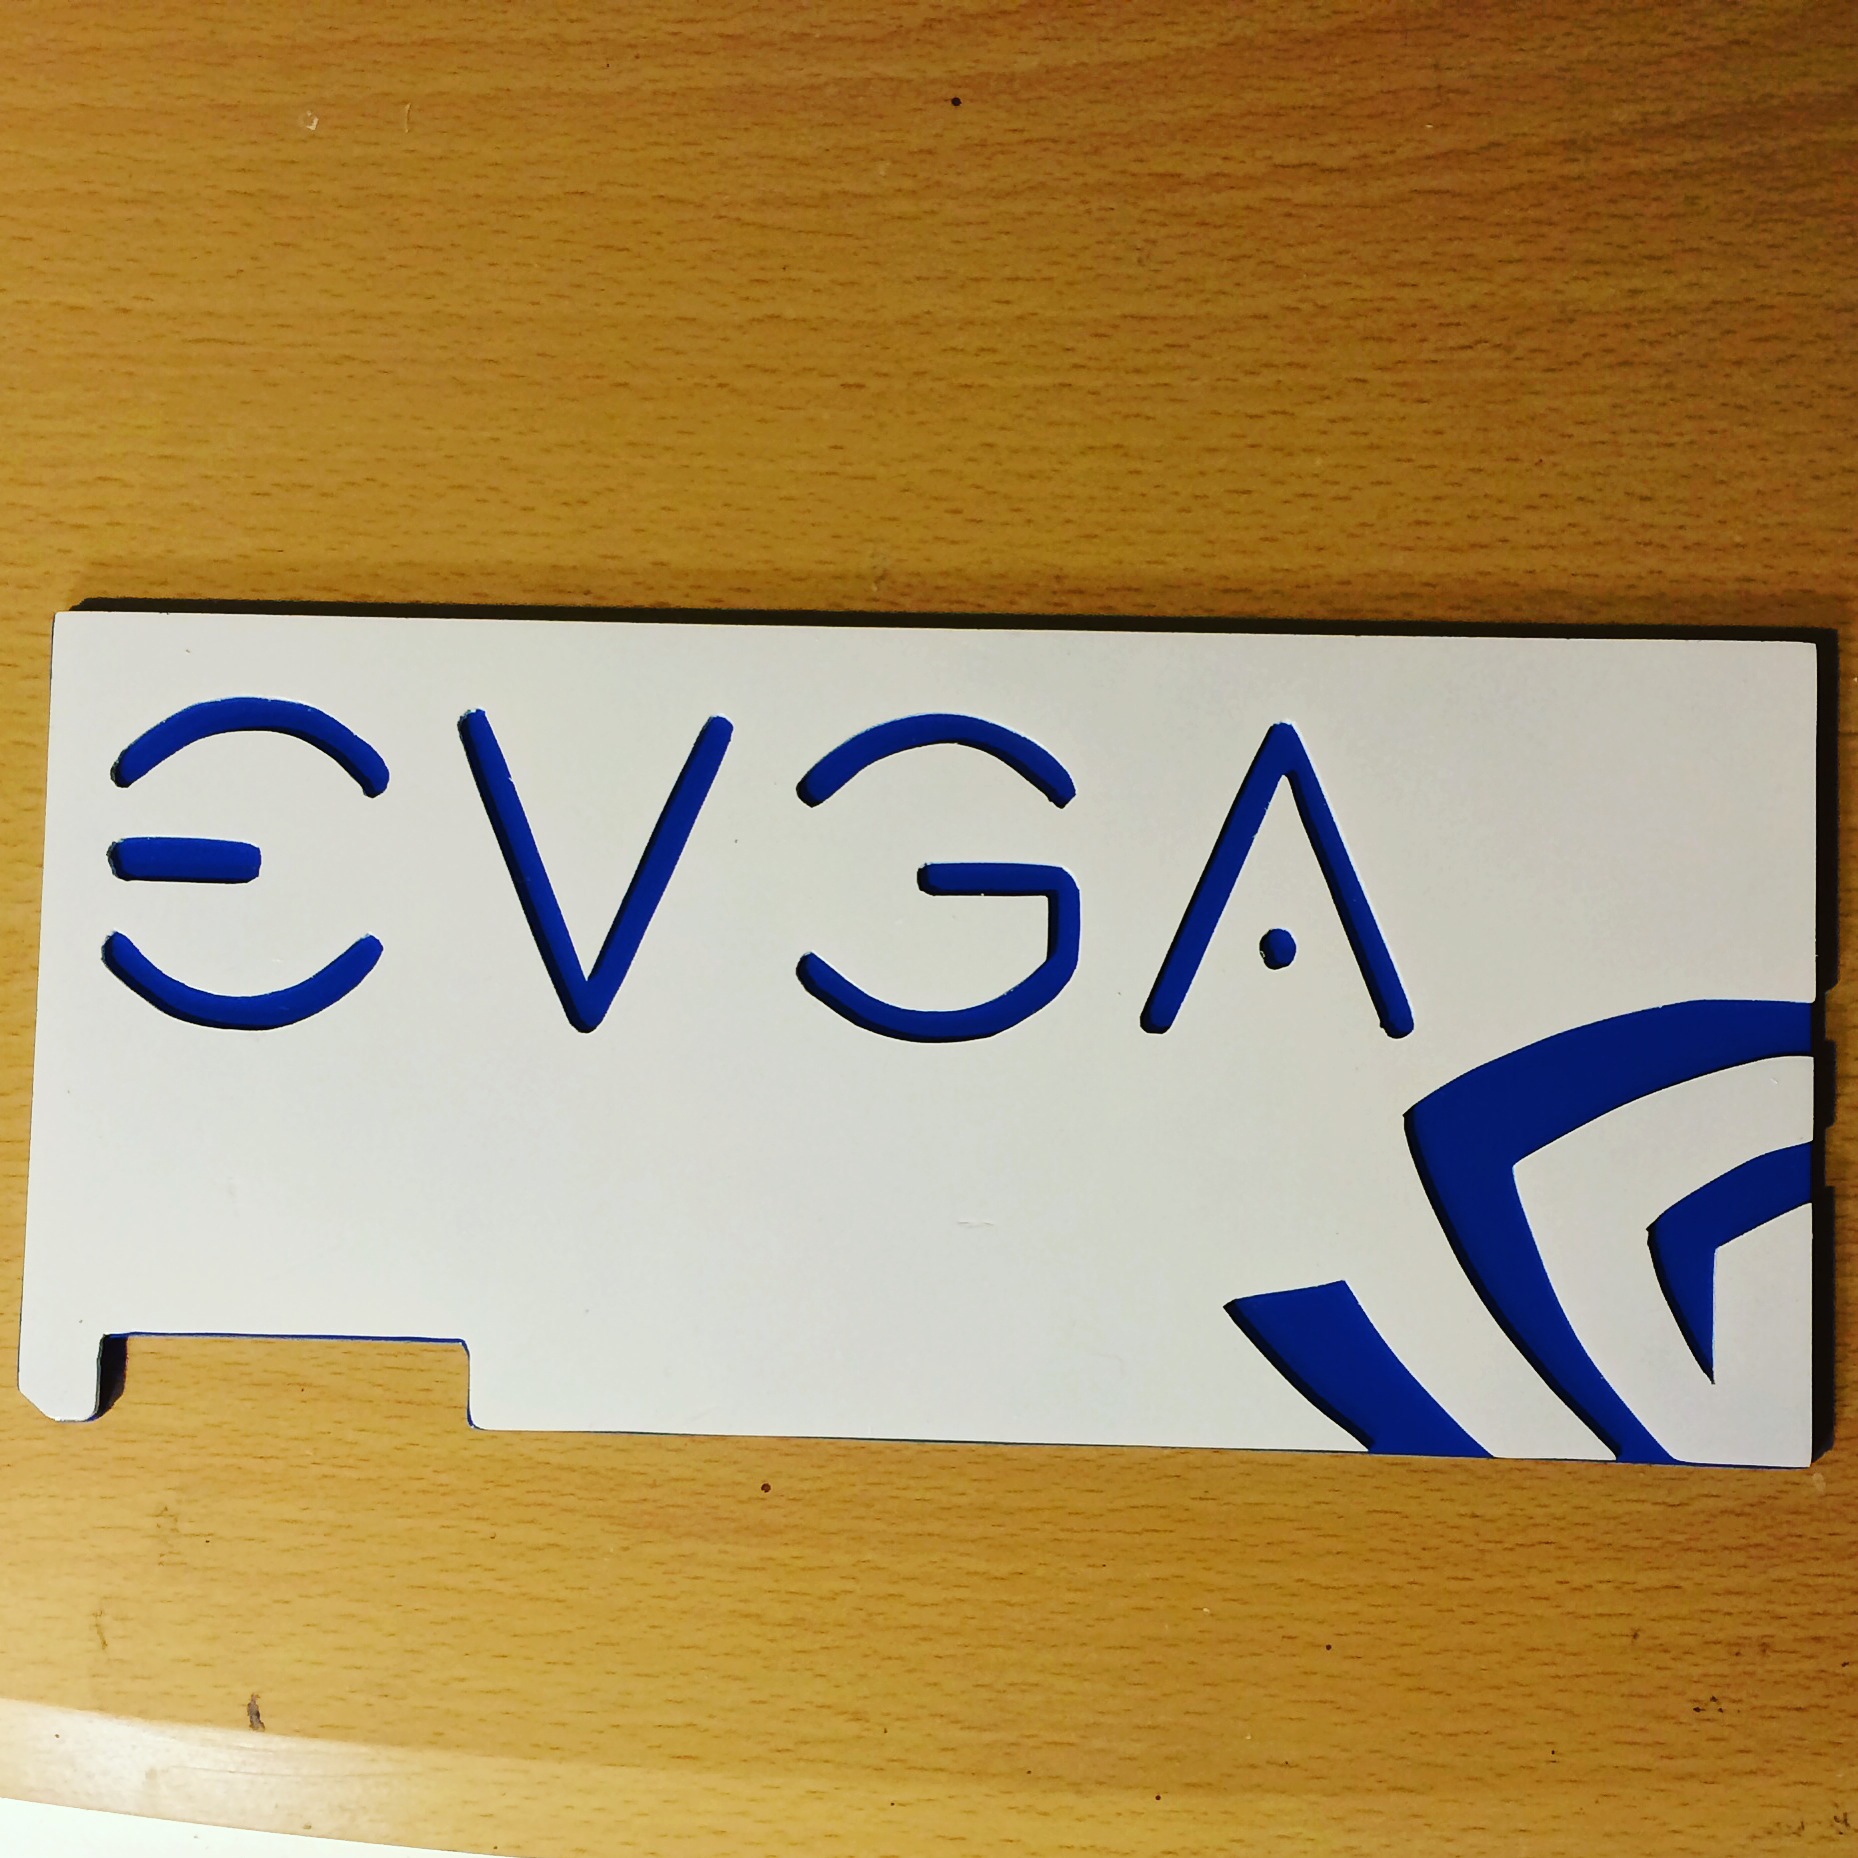
Here’s the custom built GPU backplate with Gigabytes logo shining blue.

I decided to carry the ReaperN1 logo over to the center of each fan on the case.

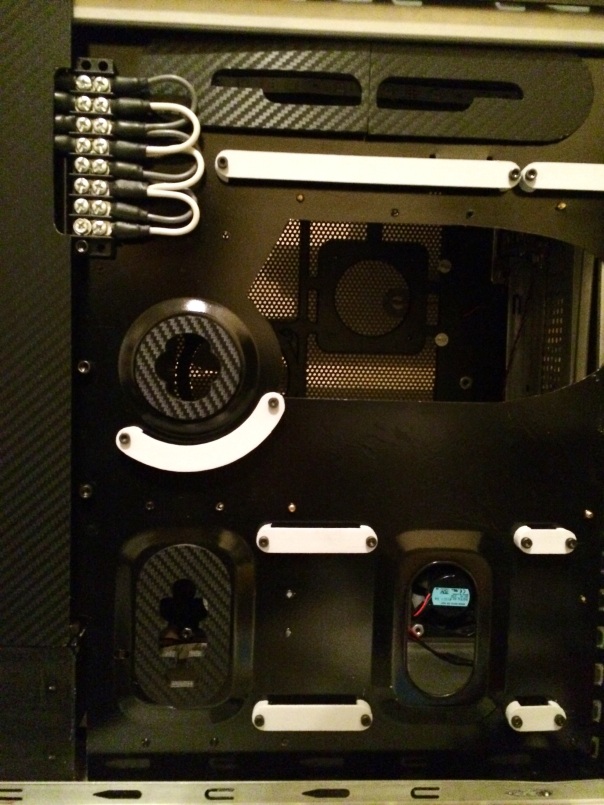
Custom built and 3D printed cable management setup for the wiring that goes behind the motherboard tray.
This case is well on it’s way towards completion and the build will continue on OverClock.net
Custom made parts done through Envious Mods.
Check out Envious Mods by clicking HERE
Share this:

Printrbot Updates (Coming Soon)
It has been a little while since we have updated the newest in info about Printrbot’s journey into experimental add ons and new machines. We will be updating the site with the newest information on everything from the new Printrbot CNC to the pastestruder add on. Check back soon as updates are soon to follow.
We will also be updating the page, “Everything Printrbot, All In One Place.”
Share this:
Prototyped Sign Build
I’m in the midst of doing a side project and I thought it would be a good example to show the process from idea to finished product. This particular prototype is perfect. I will be using several different materials as well as possibly a little wiring and basic circuits. No matter what the prototype is, the process is almost always the same.
Idea
I started out brainstorming what kind of sign I wanted to build. I knew that I wanted something multi-layer. I also had to take into consideration the raw materials I have available. I could have printed the majority of this prototype on plastic but, I wanted something that didn’t look like it came fresh off of the 3D printer. In order to do that I would need a combination of carful design and the use of a few different materials.
As of now I’ve decided to use Birch 6mm plywood, ABS, PLA and possibly some acrylic. The main structure of the sign will be made from wood as it will add to the overall rigidity of the structure. A combination of PLA and ABS will be used for all of the signs 3-dimensional lettering.

The Design Process
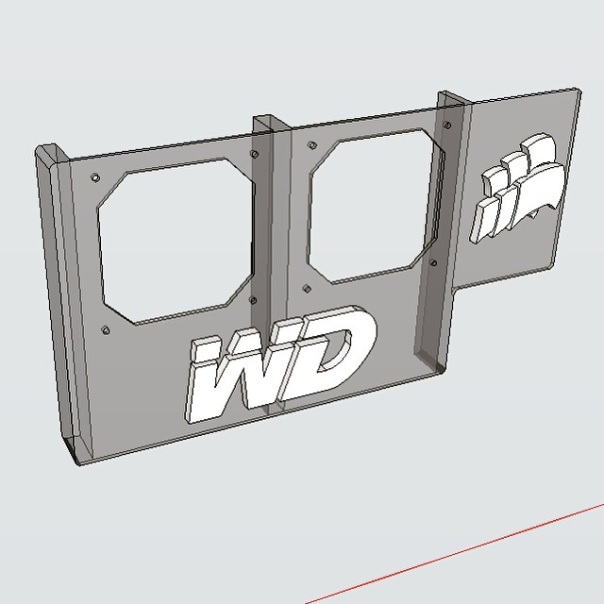
I decided to use Sketchup for the design of not only the lettering but, for the entire sign. It will give me a master set of plans that I can refer to throughout the build. Another nice feature in Sketchup is the ability to change the colors and textures of the prototype I’m building.

For this specific design I needed to come up with a simple logo as well as some stylized font for the lettering. To find a font that I liked, I uses a photo editing program on my phone. It offered up a font that was perfect for this build. I typed out exactly what I wanted to say. After that I saved it in black and white as a GIF file that could be imported into Sketchup.

Once I had it imported into Sketchup I used the available tools to make a water tight outline of all the lettering I imported. I made sure to take notes of what parts I wanted to be more “3D” than others. Once all the lettering was outlined I could use Sketchups push/pull tool to determine each parts thickness. Making some parts stick out further than others gave it a great depth of feel. I completed this process over again to create the logo.
Since I’m using wood for the base structure I needed to make a 2D pattern of the back plate of the sign as well as the front inset. I did this by looking at my design files that determined the overall size of the sign. I then transferred that using paper and pencil. This gave me a great guideline to use when cutting the wood on our scroll saw. After that it’s just a matter of taping the pattern to the wood and cutting it all out.

The Build
Now that I have a great idea of how everything will be laid out, I can start working with my materials. The first material used was the 6mm birch. I cut out both my front inset and my back pieces.

I then took the designs created on Sketchup and printed them all off. After printing they are all cleaned up and prepped for paint. I’ve found that acrylic paint works great on printed plastic. If you want the painted pieces to hold their color – I recommend using a clear coat spray paint on top of the acrylic paint. It works great, especially on items that will be outside, exposed to the elements.

Once everything is painted, it’s time for assembly. I used gorilla glue to adhere all of the pieces together as it works well to bond almost any materials together. Due to time constraints I decided to not add the flashing LEDs. I will save those for the next project.
Share this:


New Search Option Available
You can now search through the vast archives of RepRap Squad’s posts. Located on the upper right side of the page – giving you the availability to search for what matters to you. We have tons of build logs, reviews, DIY, news, how to’s and just about everything else 3D related. Don’t miss out and search until you can’t search anymore.
Share this:


ProtoLab – Models, Designs & Prototypes

Now that our new Prototyping Lab is almost finished being upgraded. We will have a new addition to the RepRap Squad team. I have chosen Brian to head up the Prototyping Lab. It will take him a little time to settle in but, we will soon see some very neat designs and prototypes.
The majority of his efforts will be to design prototypes for the 3D print industry but, he will also be designing and building parts for almost every industry out there. We wanted to have a platform available to share our models and designs. ProtoLab is perfect for this. We will share not only the models, but the design process as well.
You can also check out the ProtoLab page HERE or Tweet at: @REPRAPSQUAD_HQ


